Hobie Forums http://www.hobie.com/au/en/forums/ |
|
Modular Kayak Rigging http://www.hobie.com/au/en/forums/viewtopic.php?f=11&t=13010 |
Page 1 of 1 |
Author: | RPB [ Tue Jul 07, 2009 9:12 pm ] |
Post subject: | Modular Kayak Rigging |
Modular Kayak Rigging .... 2009 Outback, but applicable to about any model ===================== 
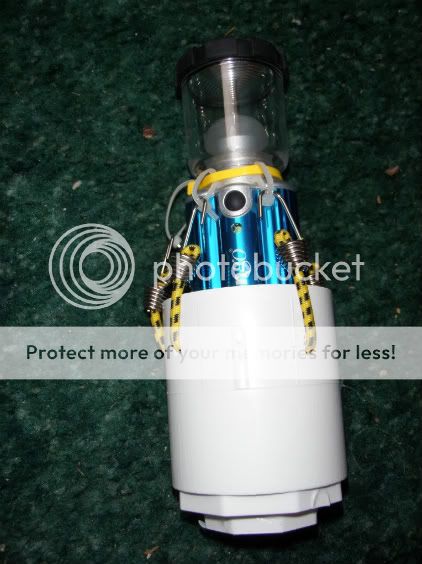
Near the stern, I used sS screws to screw padeyes onto the Scotty holders themselves. Those were left over from last kayak, for my flyrod. Rarely used. Later, I'll post night photos with the flags and Stern light and fishing rods etc. ---------------------- 
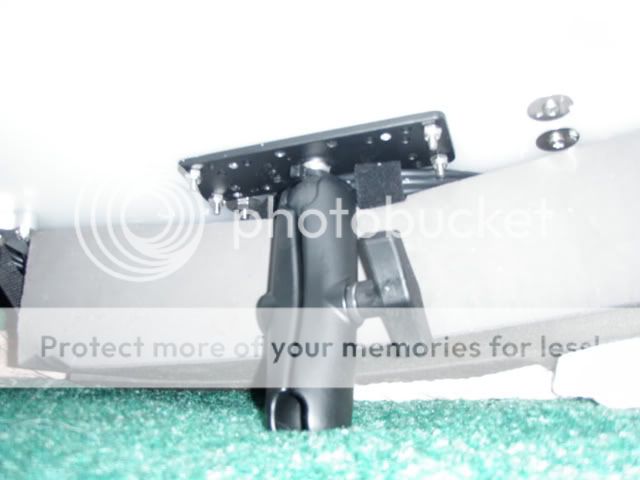
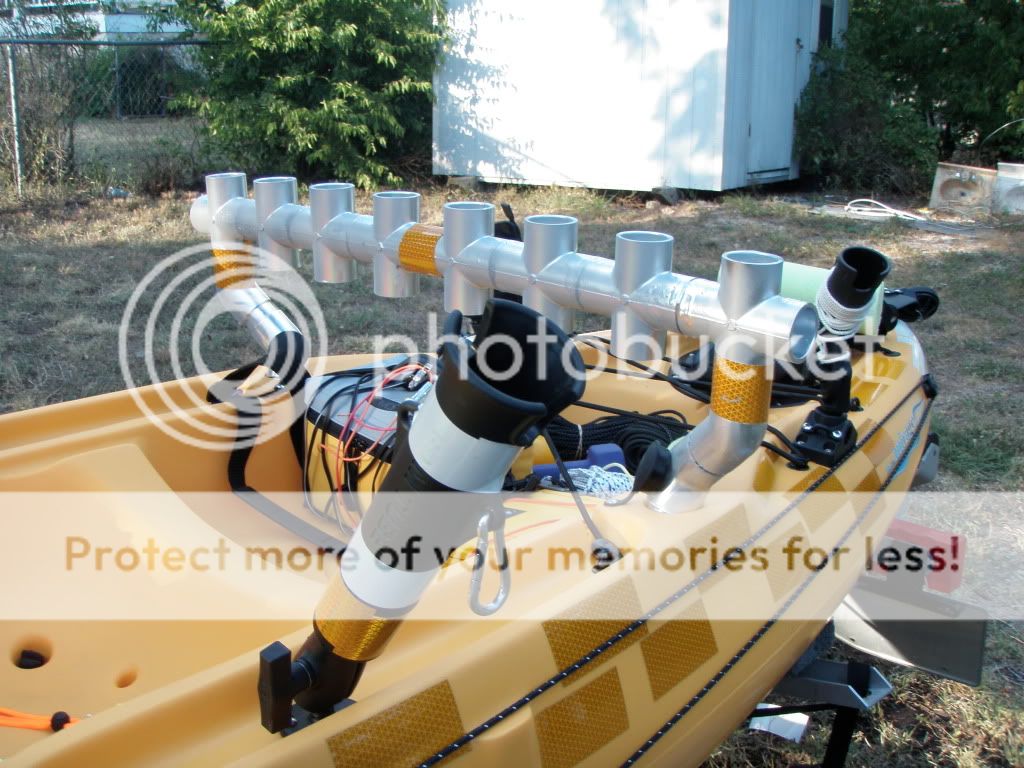
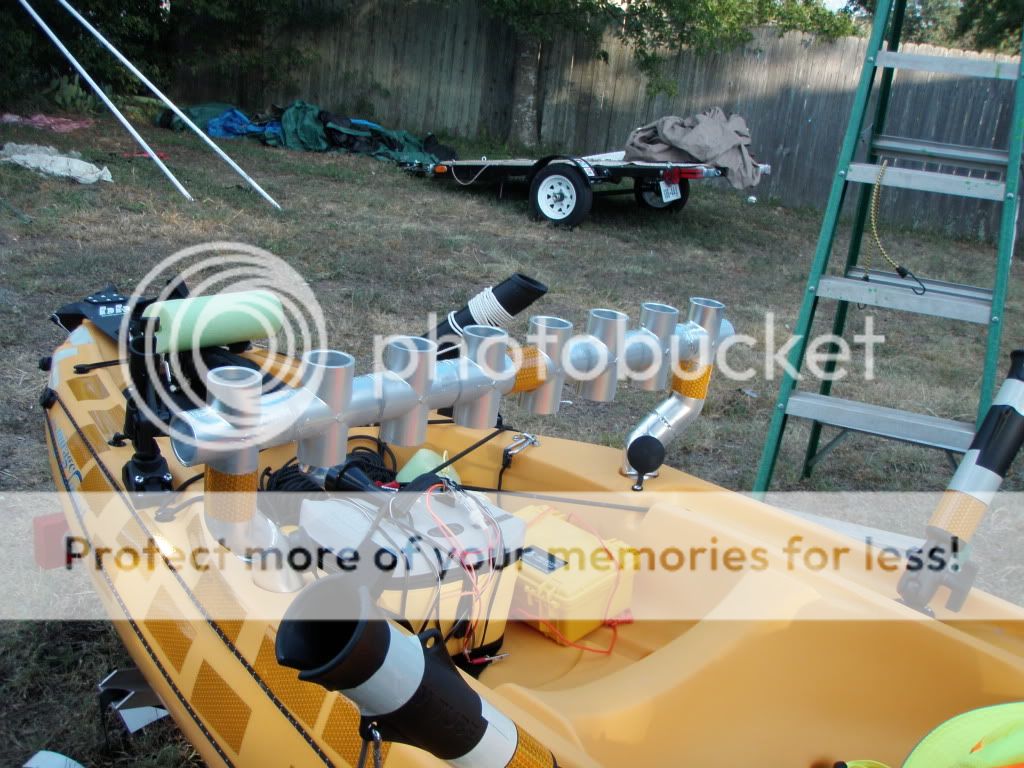
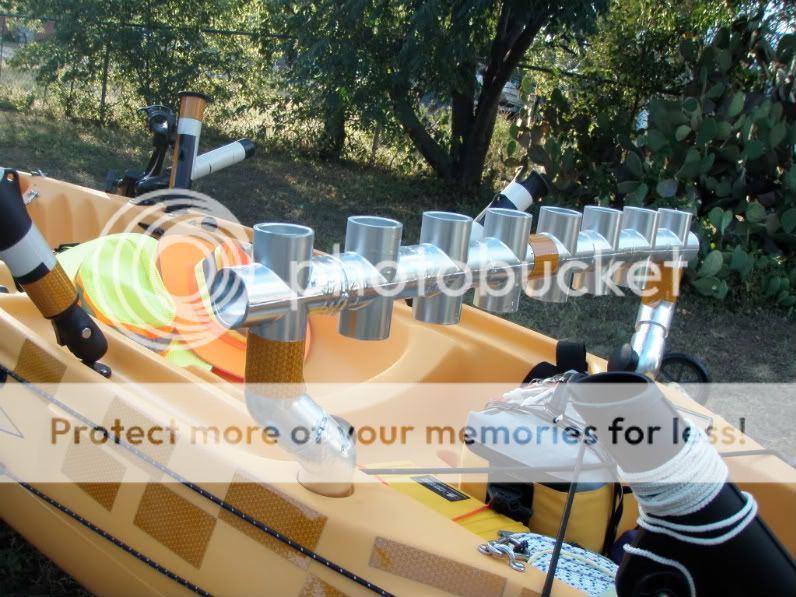
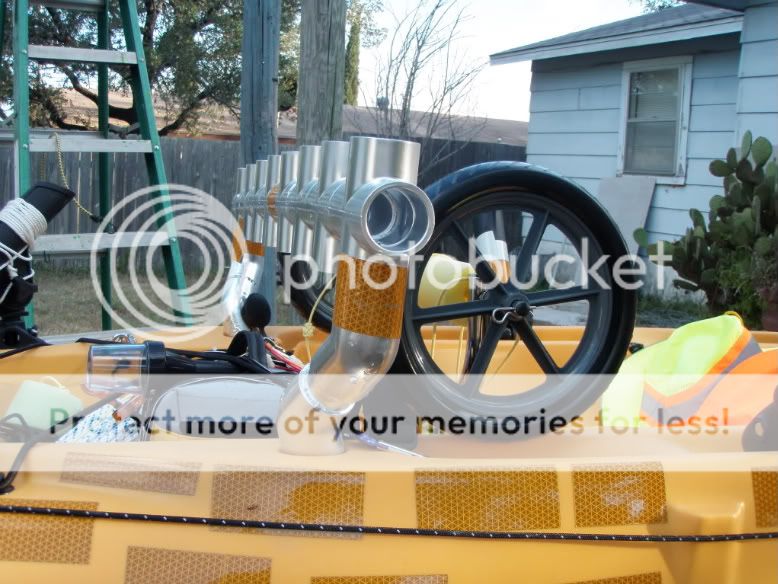
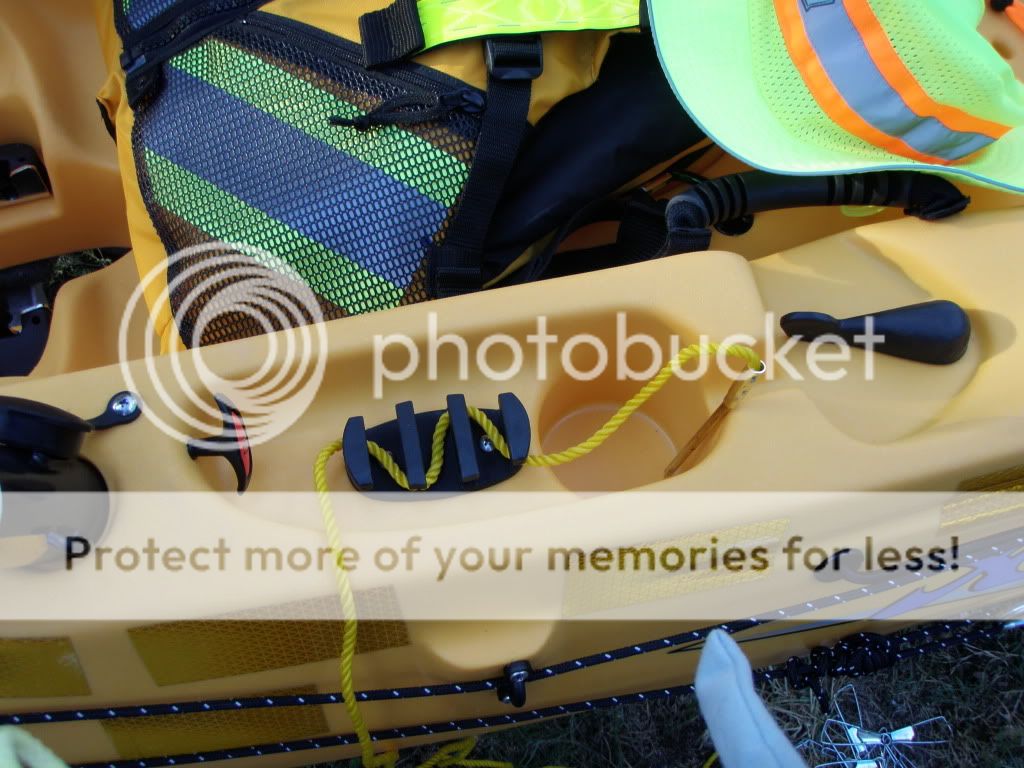
I used RAM balls, ALL 1-1/2" for this kayak's "Modular" system. And 1-1/4" crosses, pipes, 45 degree elbows, plugs (for flagpole) and reducers (for light pole) for this kayak's "Modular" system. The 1-1/2" "wedge mount" ram ball in the sail mast tube holds my FishFinder/GPS/dual Rodholder/Pliars table. ![]() I made the "table" with two stacked 16"x20" cutting boards from WalMart (under $10.00 each) and the Ram 1-1/2" Electronics mount, compass, a small drybox with two 8 AA cell battery holders, the folding transducer arm from "The Liberator" a couple wire rodholders from Walmart, and my waterproof Nuvi 500 GPS in boat mode (with waypoints of brushpiles, markers/marinas/ramps etc, and underwater contour maps loaded from a sd card) 
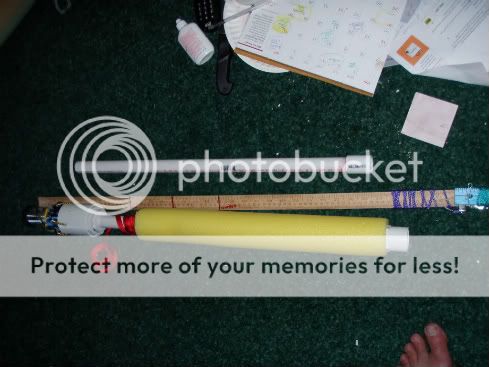
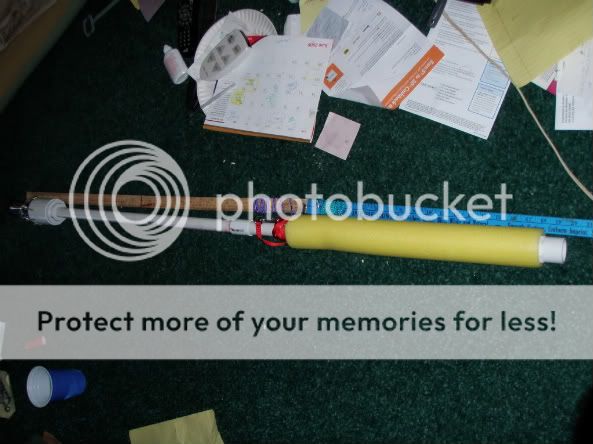
I MIGHT cut the "table narrower, cut a carrying handle hole in it, drill holes to hang lures on in front, etc .... still playing with it now. That's why I got the large 16"x20" cutting boards, the Liberator was too small, and this can be shaped or cut to whatever I want. I made a hole in front for needlenosed pliars, but hesitating to cut just yet, till I figure what I really want to do with it. ![]() ![]() ![]() |
Author: | RPB [ Tue Jul 07, 2009 9:13 pm ] |
Post subject: | Re: Modular Kayak Rigging |
Up front, on each side, near my feet, are a Hobie rodholder which fits the recessed tubes, Ram Revolution rod holder on a Ram Mount and a Ram Tube Ram Mount. ![]() ![]() Rearwards, just barelyeven with the seat, are Ram 2008 tubes (with the built-in padeyes for leashes)so I can aim rods forward or back when trolling etc. ![]() ![]() ![]() I put an extra ball (came with the electronics mount used as table, which I mounted on the wedge mount, so it was "extra") amidship in case I want to move a rodholder back towards me, or use one rodholder tube as an outrigger/Sponson/stabilizer (I made these, never use them much.) Or, to move my Fishfinder/GPS/dual rodholder table there some day? ![]() |
Author: | RPB [ Tue Jul 07, 2009 9:13 pm ] |
Post subject: | Re: Modular Kayak Rigging |
Behind-The-Seat "Modular" cross system (for Net, flagpole, umbrella, "stern light", stakeout pole, etc) I wanted my crosses to butt right up against each other, so the glue not only glues the outside of the pipe to the cross, but glues the end edge of the pipe to the inside ridge in the cross, and glues the end edges of the crosses together at the edges too. To make a "jig" to cut the PVC the correct length, I inserted a small piece of cardboard in as far as the ridge that meets up with the pipe. I marked it, folded it, cut the cardboard to length. Then cut it just a hair shorter, mark the pipe and cut pipes to length. First, cut your "cross-joining" pipes to length and de-burr them (scrape burrs off with a knife inside and outside the pipes) Next, glue on a cross to the first pipe. Next glue on a second cross to the same pipe and press the two crosses together completely, lay it doewn on the concrete sidewalk/driveway and make sure both crosses are in a straight line. Glue in one end of the next pipe, push it all the way in, glue on one more cross, lay flat on the concrete, straighten them so all in a row .... repeat till done with 5 or 6 crosses (later insert two 1-1/4" PVC pipes into the two recessed rodholders on your kayak and hold the cross assembly behind the two pipes to see what width you might want, if you want to add more crosses, my first one used 6, my current one uses 8 ). for net, stern light, flagpole, stakeout pole, rods, umbrella, etc ![]() Mark, Measure and cut the two PVC pipes standing up from your built-in rodholders. You want then just barely sticking up from the kayak enough to fully fit into a 45 degree ell all the way ( the mark where it comes out of the kayak, plus about half the cardboard "jig") |
Author: | RPB [ Tue Jul 07, 2009 9:14 pm ] |
Post subject: | Re: Modular Kayak Rigging |
Recessed rod holders go in at 2 angles, they angle towards the stern, and they angle toards the water. I used two 45 degree ells/Elbows on each side to take care of variables like having it level and plumb, moving it towards the seat or towards the stern, and adjusting for width, whether you use 6, 7, or 8, crosses. (Last kayak had 6) ![]() You can leash the cross system anywhere, and leash things to it. I spray painted mine chrome, and added loops of school bus reflective tape, just because. ![]() ![]() ![]() |
Author: | RPB [ Tue Jul 07, 2009 9:14 pm ] |
Post subject: | Re: Modular Kayak Rigging |
Flagpole was made "modular" by drilling hole and fastening flagpole bolt and nut/washer through hole in a 1- 1/4" bushing plug, so it plugs into any of the 8 rodholder crosses. If you really need a picture, I'll take one. Stern Light pole made "modular" by inserting the 3/4" pipe into a 3/3" to 1-1/4" reducer, so it plugs into any of the 8 rodholder crosses. ![]() ![]() ![]() Yellow and Black "Modular windproof Nike golf Umbrella" handle fits into a PVC flared pipe that I reduced to 1 -1/4", so it plugs into any of the 8 rodholder crosses. If you want a picture, I'll take one. Rods and net handle I just put in the crosses. Yeah, you could do that with stern light and flagpole too, but I'm retied and had time and too hot to fish today. |
Author: | RPB [ Tue Jul 07, 2009 9:15 pm ] |
Post subject: | Re: Modular Kayak Rigging |
--------------- When installing Padeyes, I used the largest SS washers which fit inside the curvature/space, and then ALSO put another padeye inside the kayak on the 2 bolts, on top of the washer, then the nut, in case I want to leash something inside the kayak so it doesn't slide out of reach, or to retrieve it easily by pulling the leashed thing to me while on the water. (battery/gear bucket/drift chute/drybox with wallet-keys-fishing license/soft bag cooler or whatever from inside the kayak) ------------- The white reflective tape on the rodholders and rods and stern is the Bending Branches paddle reflectivity kits The yellow reflective tape is "schoolbus" reflective tape. The yellow reflective sew-on tape on the HOBIE Life Vest straps and the yellow/white reflective tape in the netting pockets of the vest were added by me. (Original Hobie vest had NO reflective tapes sewn on) The hats are Ergodyne Glowear hats. The bungie is getting replaced soon with reflective bungie, and leashes are reflective rope. --------------- (My dual anchor trolleys, leashes for stern light, net, rods, flagpole, etc are made with the 3M Scotchlite reflective black cord, like the photos below, purchased from "KFS," but they only had the black reflective color, so I had to order the yellow.) My paddle leash is yellow. I used the same Bending Branches reflectivity kit on the Paddle (not shown). Also, I have zigzag anchor cleats on both sides of my kayak for anchor or fish stringer/basket, or to rig my leash into a "rope ladder" step to assist my re-entry if I'm exhausted tired. Leash is about 12-15 feet long; long enough to make a loop on one side, and use a spare rope for the other side, going under kayak (Can use a spare rope as tied off on opposite site cleat and going under the kayak, as sort of a "paddle float"-tie off the opposite side system) ![]() ![]() My leash, (not shown) attaching my Life vest to the kayak, is made with the yellow reflectivity cord shown here ![]() http://www.rockcreek.com/products/listing/item2527.asp since it is easy to see at night or murky water, features a reflective filament strand in the sheath for added safety and convenience and because my kayak is yellow. |
Author: | RPB [ Tue Jul 07, 2009 9:15 pm ] |
Post subject: | Re: Modular Kayak Rigging |
I used to use an ankle velcro leash setup on my old kayak and wore a knife on my belt, just in case. I have since switched to a small stainless steel carabiner attached to a D-Ring sewn on my Life Vest [on live vests without D-rings, the carobiner can clip on a strap] (Life vest is ALWAYS ON, and leash is completely out of the way on Native Propel or Mirage drive kayaks) and wear a knife on my belt, just in case.. I found it less objectionable to be tugged on by the life vest than by the ankle, and that allows me to kick better when in the water, since it is out of the way of my feet/legs. My leash, attached to my Life Vest, is normally stowed/coiled behind me, out of the way when fishing paddling or pedaling, attached to a stainless steel padeye which has very large washers buts and bolts attaching it to the kayak, leash is about 12 feet long, so I can swim all the way around, or under kayak if needed, or get far enough away to untangle if needed, but not so long as to require a LOT of swimming or pulling the kayak back to me by the leash. Of course, the leash is ATTACHED when I'm away from shore and it is windy for safety, AND the leash is UNHOOKED for safety if I go through surf, so don't even bring that up. |
Author: | RPB [ Tue Jul 07, 2009 9:23 pm ] |
Post subject: | Re: Modular Kayak Rigging |
I'll post night photos with flags and stern lantern here later. Along with interior photos of the inside padeyes etc. |
Author: | stringy [ Wed Jul 08, 2009 3:11 am ] |
Post subject: | Re: Modular Kayak Rigging |
![]() You've been busy RPB! ![]() Amazing! ![]() I didn't know a zigzag cleat existed. Thanks |
Author: | Roadrunner [ Thu Jul 09, 2009 10:30 pm ] |
Post subject: | Re: Modular Kayak Rigging |
Wow! Great custom job, right down to the color coordination! Excellent photos show how everything comes together. A stinkpotter would have to be blind not to see that rig! Looks like everything is well organized with lots of room for expansion. Thanks for sharing! ![]() |
Page 1 of 1 | All times are UTC - 8 hours [ DST ] |
Powered by phpBB® Forum Software © phpBB Group http://www.phpbb.com/ |