After a few trips I had figured out how I wanted to rig my paddle Hobie.
Thanks to Karen/ Hook1 I got most of the gear delivered.
Not that it would stay original for long either..


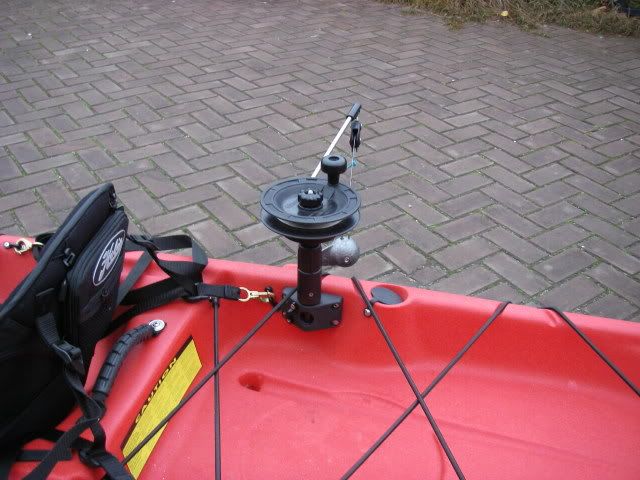
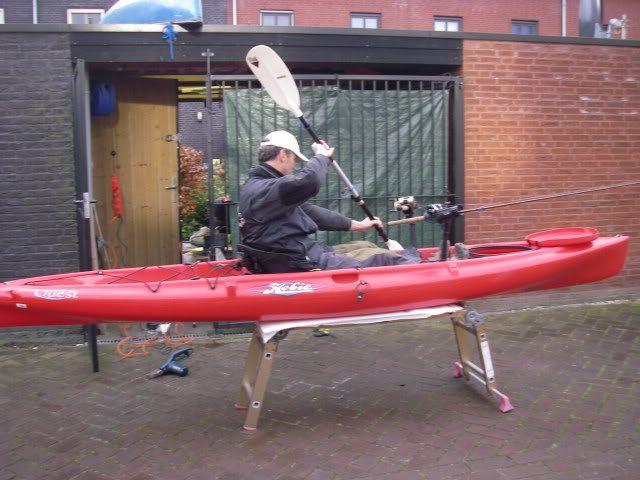
After modding the Scotty bases so they would stand more upright and clear the, maybe to come rudder-lines,had them fixed with one bolt and went for a test paddle..
sort of.

Just cleared the rods, so final drilling could be done, after some aligning


I like to fixate the base with one bolt, using it as a template to mark with a 7.0 mm drill which fits nice & tight in the base, rotate the base away and drill 6.5 for the US bolts & nuts.
Good accessible and no probs here.
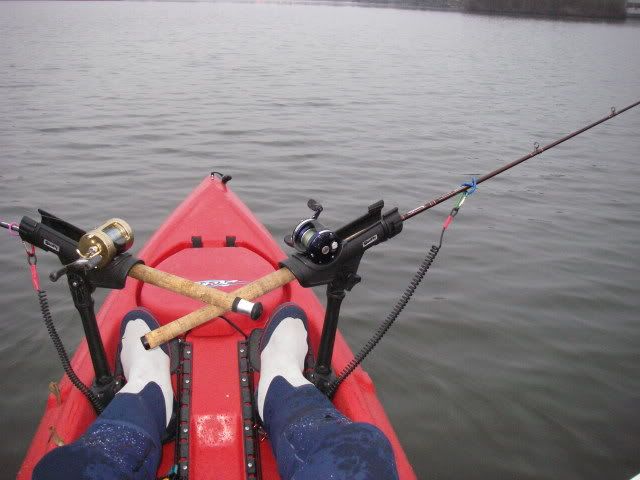
The integrated flushmounts in the rear tank well arn`t to functional for my use, the rods stand near vertical, and for trolling i needed to get much more line out, which causes some problems on my rather small home lake, so something else had to come here to, but space was tight and there was already an eyelet for the seat

Didn`t want to start with filling holes in a new yak, i opted for drilling out one rivet and rotating the eyelet.
could use the hole for the Scotty base

centering the base over a tight fitting drill , the usual belt sanding started again to accommodate the base to the tight space and curved lines


Another eyelet for leash or seat back-up

was screwed to the modified base, no access there so big screws where in order.
Then to screw in the rivet hole wouldn`t grip enough

Thought about gooping a piece of cuttingboard on the inside using line to pull it into place, but then I had to postpone the rigging, till the Goop had set
Couldn`t reach the area at all, need at least 20cm more arm length, had to go under the seatpan and avoid the rivets ??? ::)
Back to the workbench...
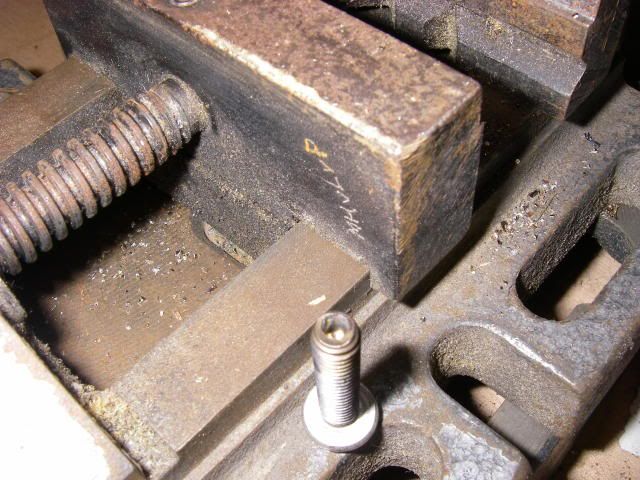
drilled a 3mm hole in the bolt and superglued electric car wire in it.
Did the same with the bolt and washer, glued it to the spanner. (there is another bolt in it to keep the stuff aligned while drying

Using the electric cord as a guide we (the Missus held the screwdriver, my boy held tension on the cord )while I fumbled with an gripper spanner combination up till my ear through the round hatch in front of the seat, But it worked!!
After hearing the nut contacting the spanner, the missus worked the screwdriver and I felt the tension on the spanner!, after so many rotations the electric cord snapped as planned, and after some persuasion the superglue holding the nut & washer gave way too.

To be continued
PF