Interesting, we found gorilla tape to be totally useless in water, however 3m duct tape works very well, (way more expensive, but much better, and doesn’t leave all that glue mess when you remove, like gorilla tape does).
We found in all cases, (any adhesives), if you clean the polyethylene with bestest rubber glue remover/thinner, (available at home depot), let it soak a while, then dry and put a thin coat of krylon for plastics clear coat over the area you are working with, you will get much better results. Why do you ask,,, the rubber glue thinner is heptane, (heptane melts polyethylene). The active ingrediant in the krylon for plastics paint is heptane.
I highly recommend before putting the flex tape on, you treat the area prior to putting the tape on. Roadrunner has also had very good luck flame treating the surface, (propane torch), if you want the best results, do both, (but be very careful since heptane is highly flamable).
Once you put the flextape on, if you soak the edges of the flex tape with the krylon clear coat, (forming a fillet at the edge joint with paint), the water can’t get in and attack the edges of the tape.
We find if you surface prep the polyethylene this way, you can easily use ge clear silicone to repair most anything. For example if you desire to re-enforce the mast base, its simple to cut an aluminum plate and drop it in so it is trapped between the back of the mast holder at the bottom of the hull, and the front of the mirage pocket inside the hull, ( doesn’t need to be a perfect fit). Then just glob silicone around the entire area, ( you want at least 3” of bonding area beyond any surface area you are trying to seal. Either silicone or west epoxy can be used, (we have used both on different boats).
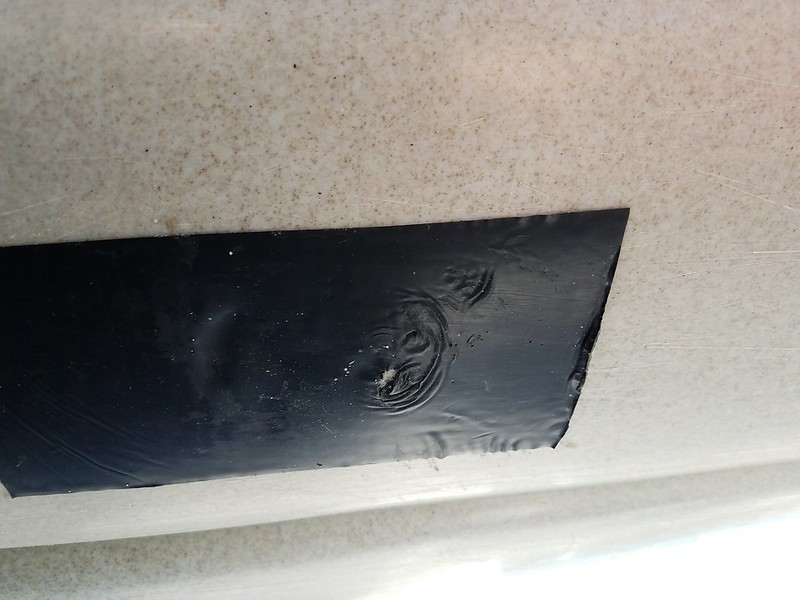
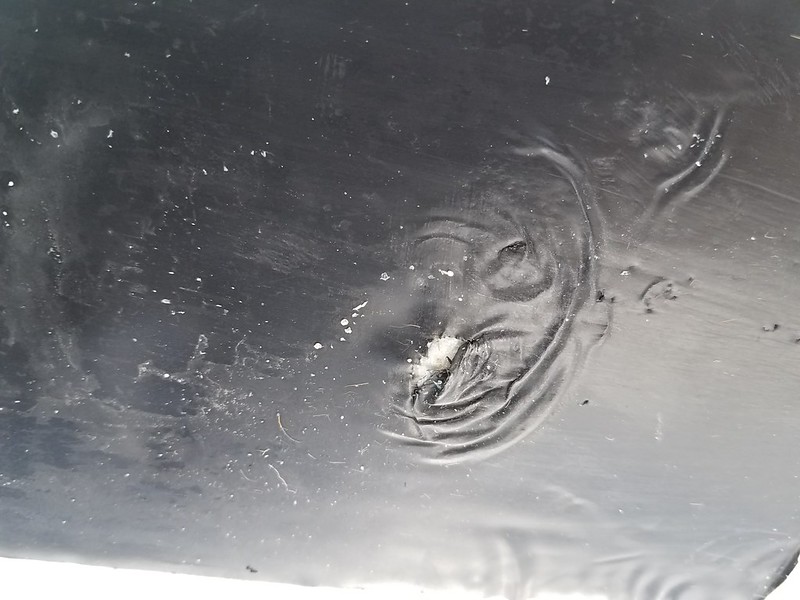
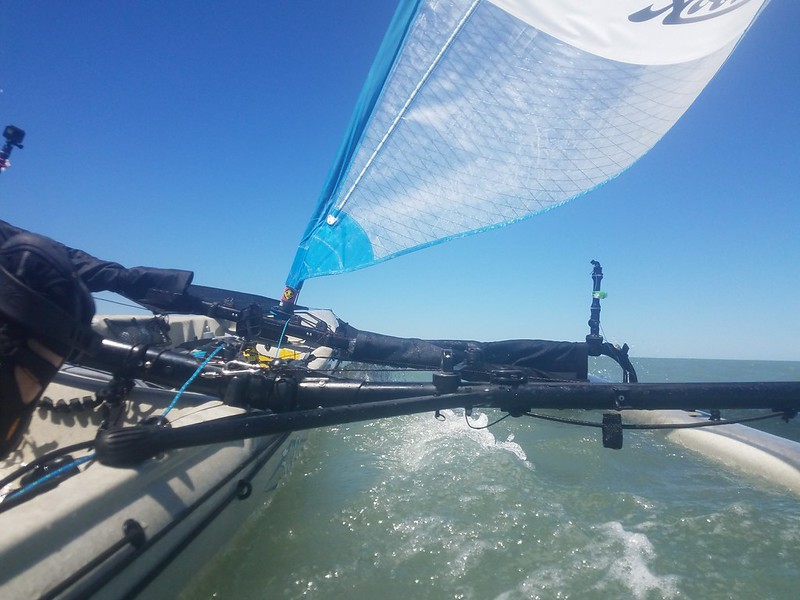
The reason the mast holder has to be re-enforced is the highest point of stress on the entire boat is the forward to back force on the base of the mast holder (side to side force is not an issue). This weakness is easily demonstrated if you so desire, simply open up your sail all the way then give the sail control line a swift tug, result will be either snapping the 1/4-20 stud, or ripping the hull, (just like in your picture), It’s random which will occur, (the force required to rip the hull is only slighly more than the force required to snap the stud, (now Hobie uses a stronger stud, the safety margin is much less that the original design).
Before figuring out how to re-enforce our mast holders we snapped 6 of those little 1/4-20 studs when deploying our spinnakers back in 2010.
It’s really simple math, all to do with leverage. The force on that stud is multiplied 17 times, simple math if you attach a rope to the top of the mast apply 200 lbs horizontal load to that rope, (simulating a fully loaded spinnaker). If you measure the front to back force at the base of the mast, the force at the base of the mast is somewhere between 2500- 3400 lbs of force. You can simulate this effect easily with a long pole, your car, and a brick in your driveway. Simply place a brick 1 foot from the end of an 18 ft pole, with the short end under your car. Now press down on the other end of the 18 ft pole with 2 fingers. You can easily pick up your car.
When Hobie designed their spinnaker system I really wish they had consulted with a structural engineer. They should have incorporated a fixed rear stay, (their current design only relieves a fraction of the forward force).
In other words with their current spinnaker design with the rear stay doing double duty as a combination halyard/stay is not strong enough, (do the math please). There is too great a risk of either snapping the mast, breaking the little 1/4-20 stud, or ripping the bottom of the hull when pushing the spinnaker too hard.
Until Hobie fixes their designs I strongly suggest, ( in the strongest language), that you guys don’t deploy your spinnakers in strong winds, and whenever deploying your spinnaker never (I mean never) deploy your spinnaker without maintaining tension in the mainsail control line. What we do with our spinnakers on downwind is we keep our mainssil out all the way or partially furled but pulled very tight, (never allow the main to relax and billow while the spinnaker is deployed).
Just tryin to help here that’s all. Sorry about over explaining till I’m blue in the face, but I feel understanding all the forces and stresses involved is pretty darn important.
FE
Edit: A very simple fix for the spinnaker users ( that will help some), would be too place the rear stay line inside a 3/8” dia PVC water pipe about ten ft long attached and suspended from the mast topper, (we just used spectra string). The tubing will help prevent the rear stay/halyard line from getting tangled in the battons on the mainsail. If desired, (and highly recommended), also add a fixed stay line, (can run within the same tube), that clips to the same cleat that your mainsail control lines an halyard pulley attaches to. Of course you will need to add an attachement point for the rear fixed stay line. Of course it is also possible to utilize the pvc tube itself as the fixed rear stay, but would require stronger attachment at the top and bottom of the pvc tube. In our case we abandoned the giant loop spinnaker halyard approach yrs ago, with a preference for a fixed stay line, and a separate spinnaker halyard mounted at the front of the mast topper mounted within a similar 3/8” dia pvc tube which runs down to harkin cleats mounted on the outer left cleat position on the front aka cross brace. If you wrap the halyard line around the aka cross brace prior to running thru thhe cleat, you can easily cleat in upward facing halyard lines, (simple fast and easy), we just stuff the excess halyard line into our mesh pockets by the front seat. Just tryin to help here.
|
 Hull Repairs - Hobie TI by Jim Powers, on Flickr
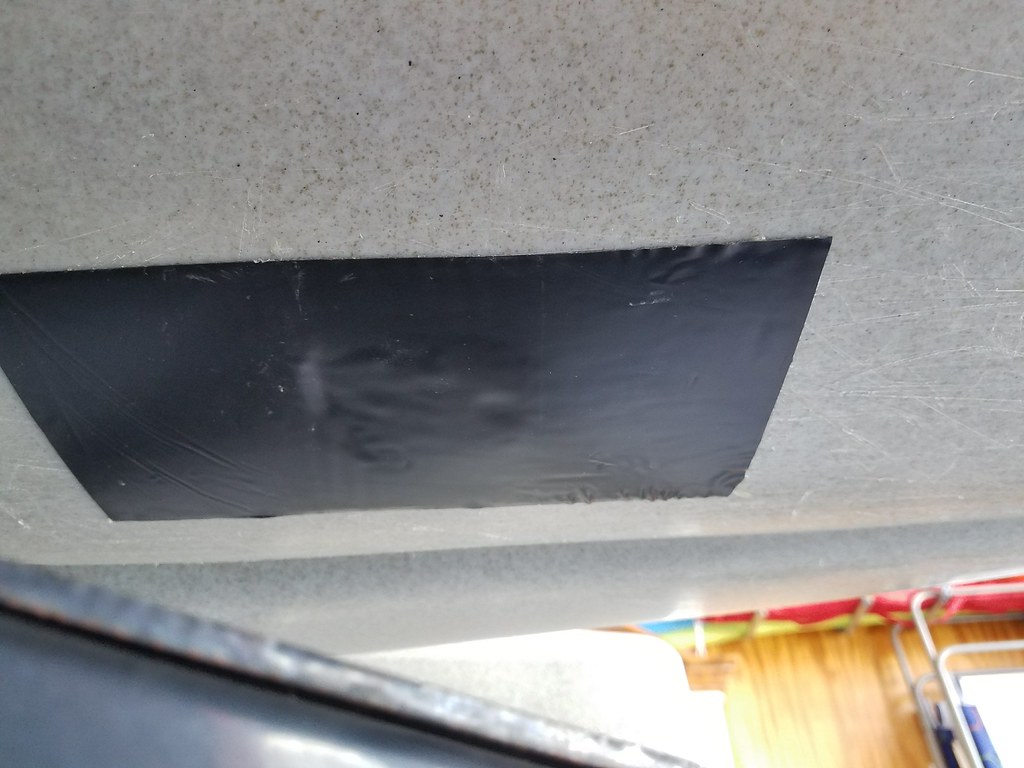 Hull Repairs - Hobie TI by Jim Powers, on Flickr
 Hull Repairs - Hobie TI by Jim Powers, on Flickr
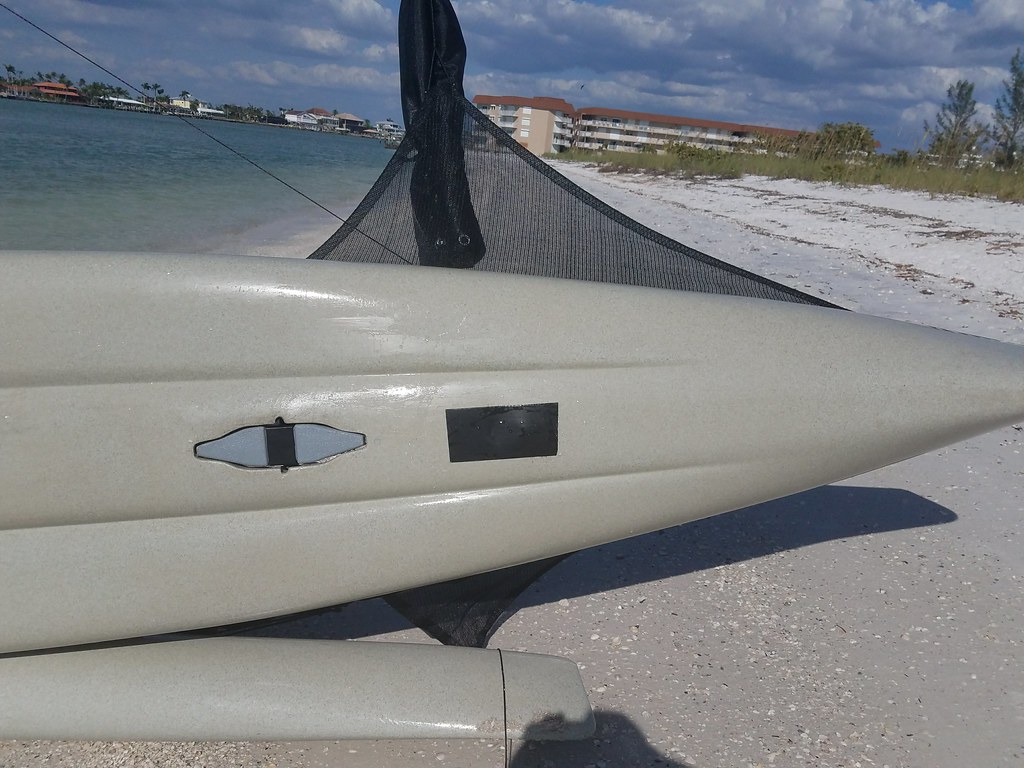 Hull Repairs - Hobie TI by Jim Powers, on Flickr