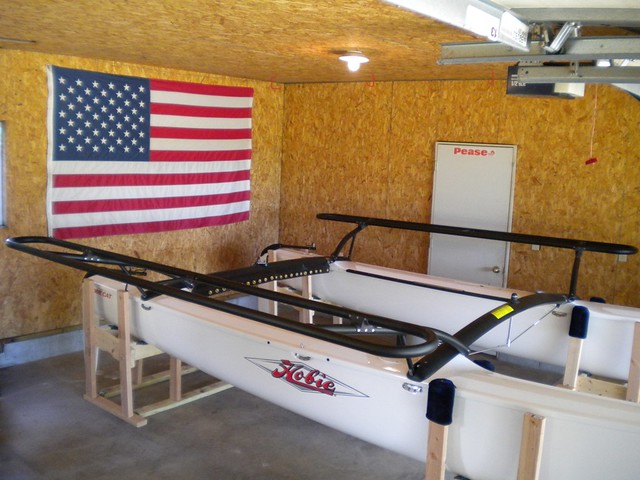
Rudder system:
Installing the SX wings require hanging the rudder system to check for interferance with the rear wing leg support struts, so I had to go ahead and complete the rudder assembly during the wing installation. Previously I had fit the lower castings to the transoms, as there is a factory interferance with those parts that requires some fitting. I am going to repost that process here in order to provide some continuity, before detailing the rest of the rudder system installation:
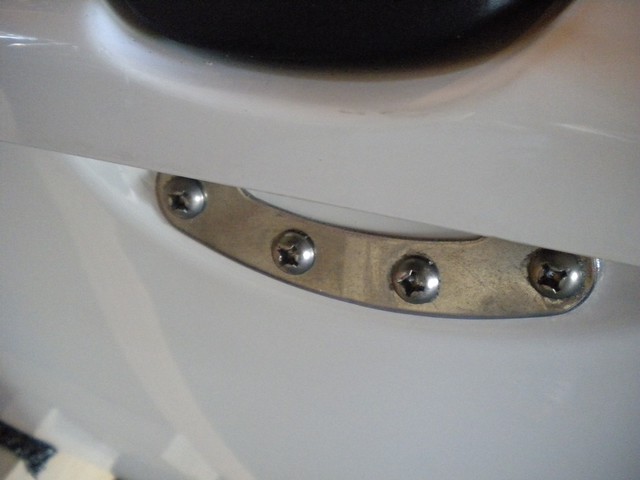
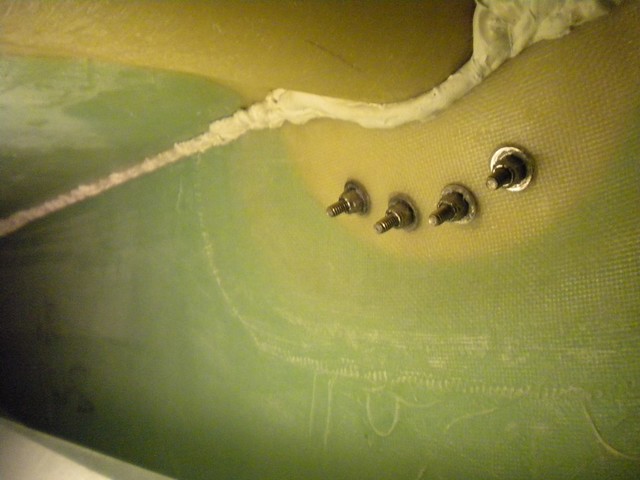
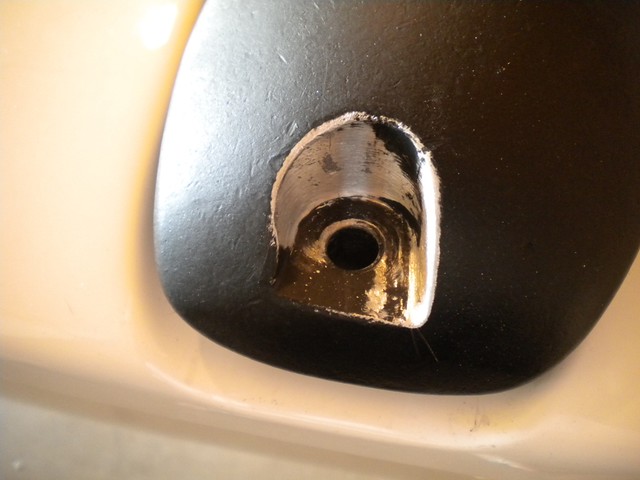
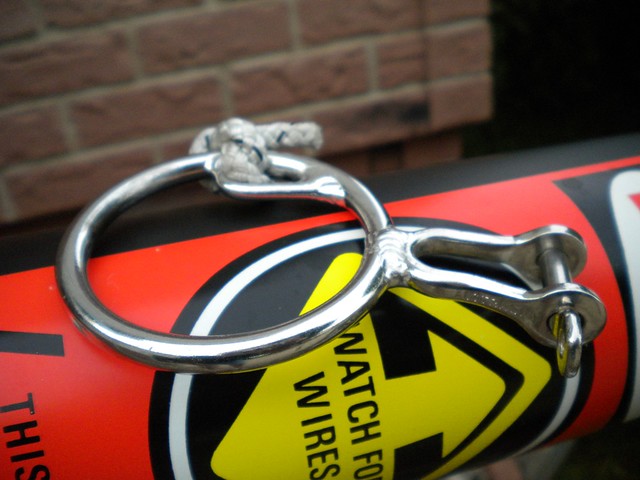
The hulls come from the factory with the one piece cast euro gudgeons...which have an interferance fit with the lower casting. So it takes a bit of work on the lower castings to get everything to fit, but the results are worth it!
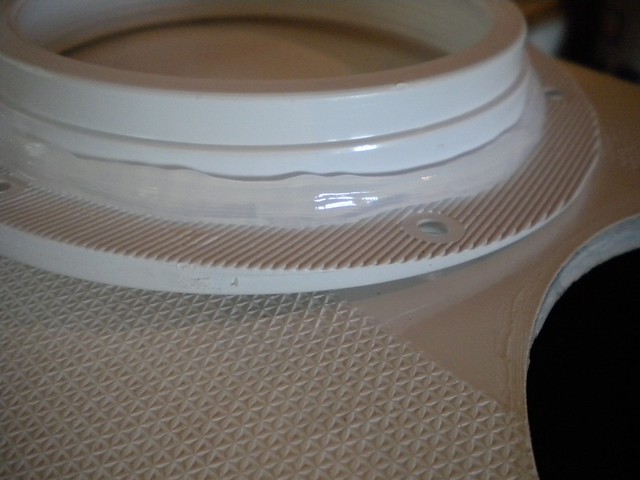
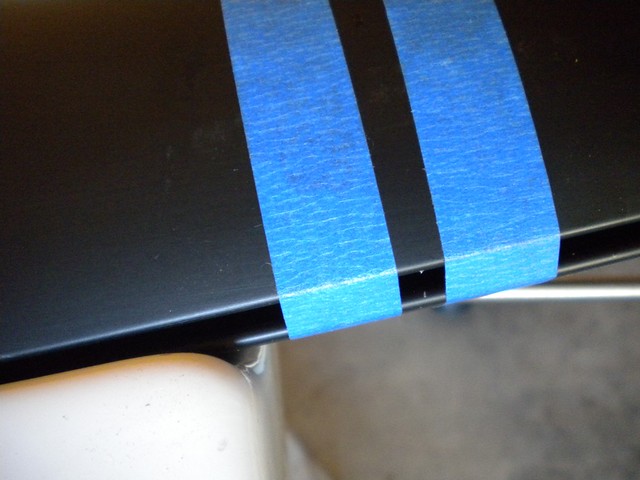
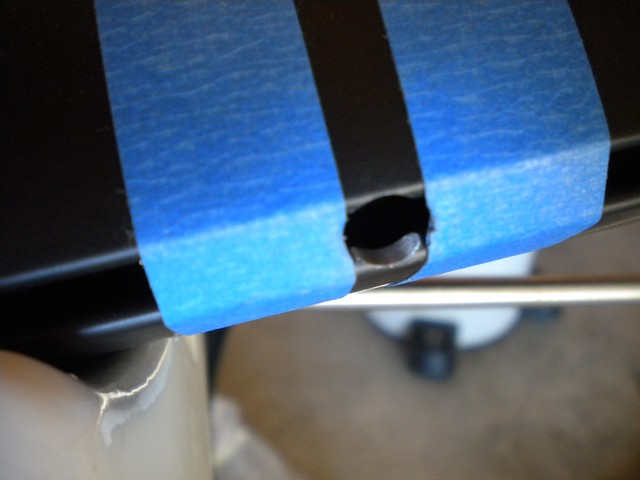
In all, it takes between .200" to .250" (about 3/16 to 1/4 inch) of material to be removed from the lower casting in order to have the casting fit onto the gudgeon attached to the hull. This is without removing material for using the stainless steel washer in the assembly as is the regular rudder assembly practice...I am going to moniter how the plastic bushing shoulders in the euro gudgeons wear...but I don't think the washer will be needed, and I really didn't want to remove any additional material if not necessary. I used painters tape to keep from scratching the castings while handling them (they are new), and the blue tape on the bottom is lined up with the initial "rough out" mark. Also tape every orifice off to keep dust out.
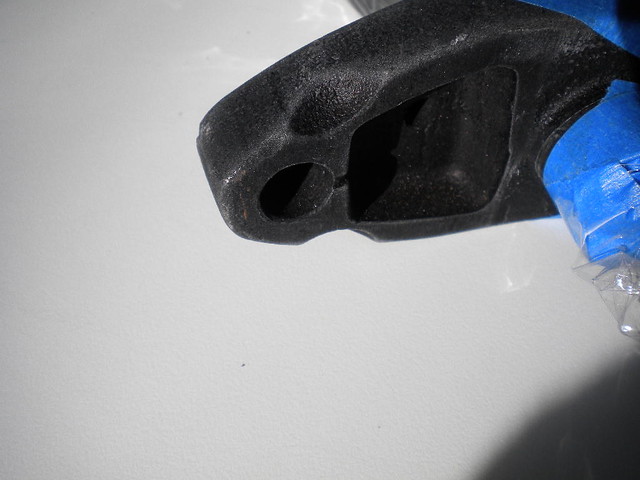
I removed .060 to .065 from the top part of the lower casting just to square everything up where it sits on the bushing in the gudgeon (both gudgeons and rudder castings use bushings), and then removed the remaining material off the bottom of the rudder casting (.150 to .180, depending on the side, each casting is unique) in order to maintain clearance away from the drain plug housing on the hull (not much extra room, so plan accordingly). This also took care of about 99% of some surface casting porosity. It is nice to square these surfaces up since they ride against the large shoulder of the bushings in the euro gudgeons; it helps to spread the load out and minimize early wear.


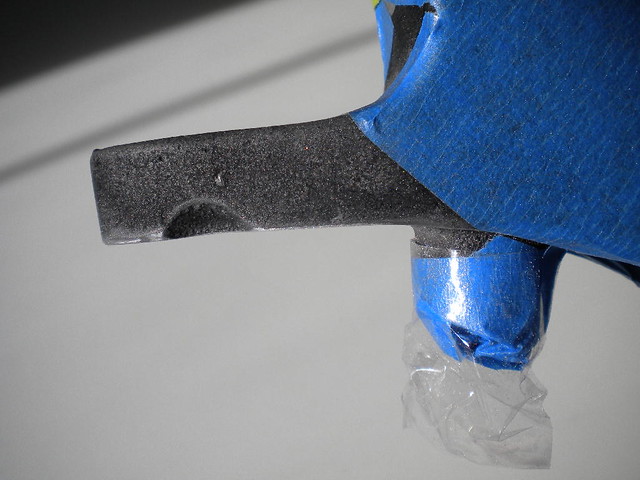
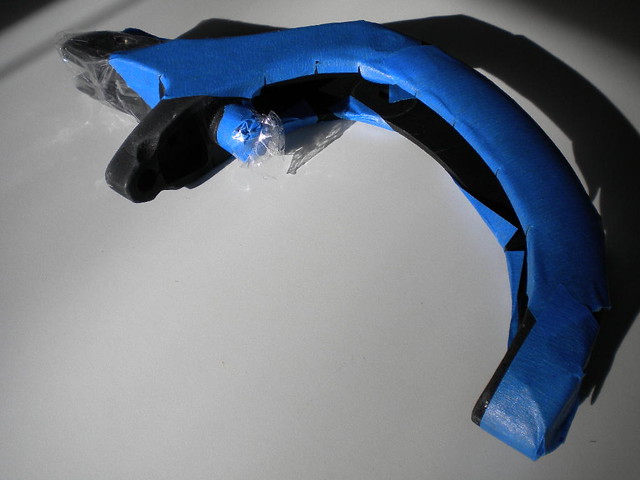
In addition to that, I had to remove a surprising amount of material around the perimeter of the castings since the 1-piece gudgeons don't extend out from the hulls as far as regular stainless gudgeons (material removal required to allow clearance / casting rotation).
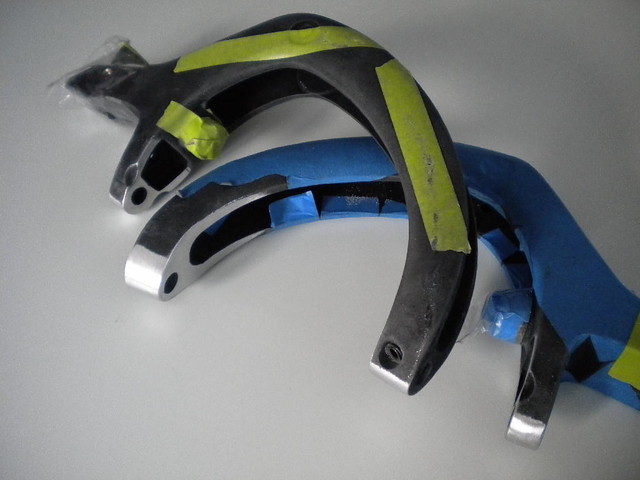
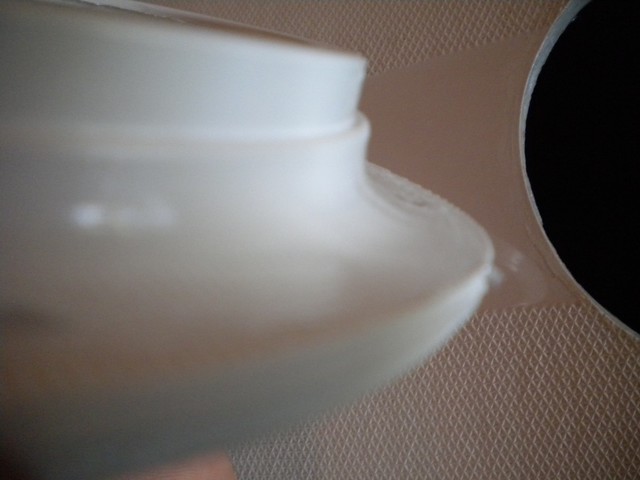
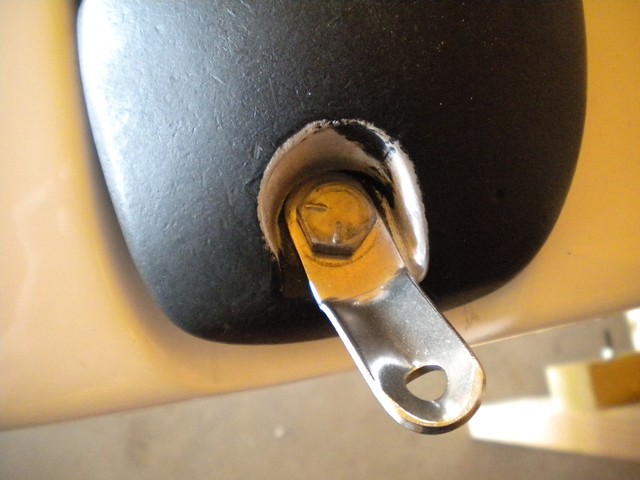
I faired the removed material into the rest of the castings both for looks and to avoid stress concentration (the 'step' that resulted from the initial material removal). Cleaned & touched up the castings with some custom-blended paint...might not last as long as re-anodizing, but I am not in salt water, either. Cleaned with near boiling hot water...does a great job of getting rid of the grey aluminum dust and getting everything back to black again.
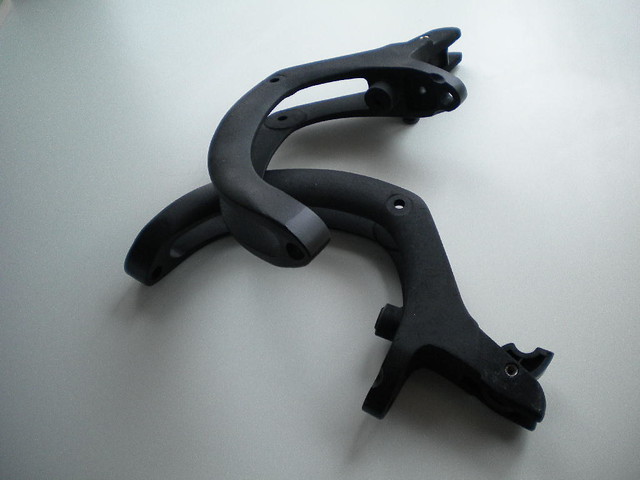
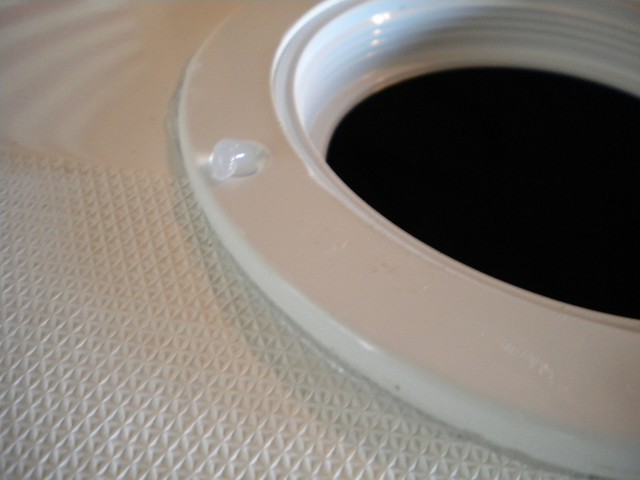
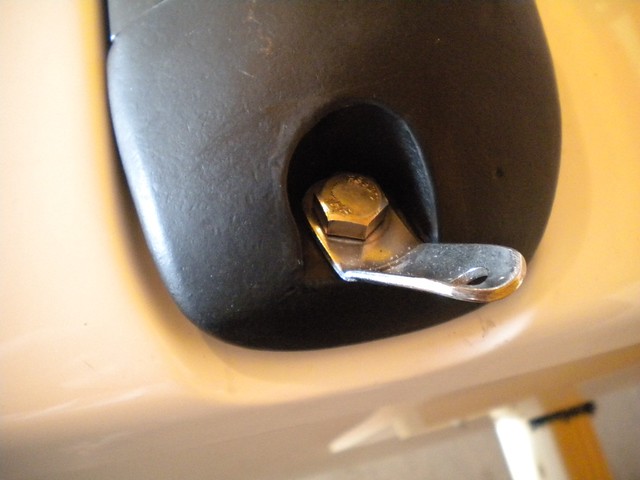
Counterbored the rudder pin holes for the nylon bushings which made a HUGE difference in the amount of "play" in the bushing...they are kind of a sloppy fit otherwise, even brand new. Capturing the shoulder of the bushing really tightened things up nicely, and should help keep them epoxied in place.
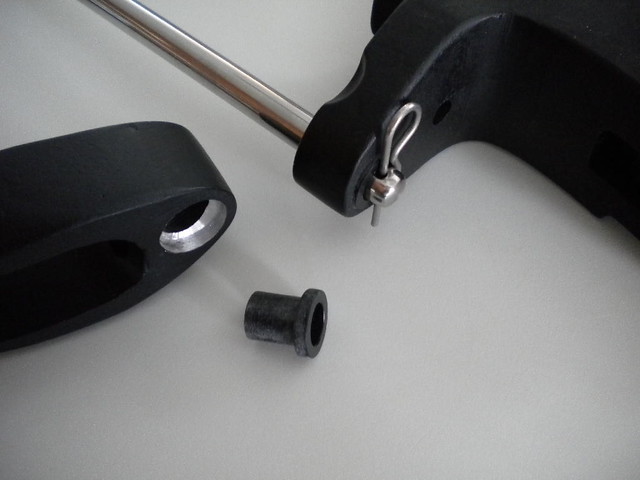
I scuffed the outsides of the bushings before gluing in...I have had problems with epoxy sticking to these before.
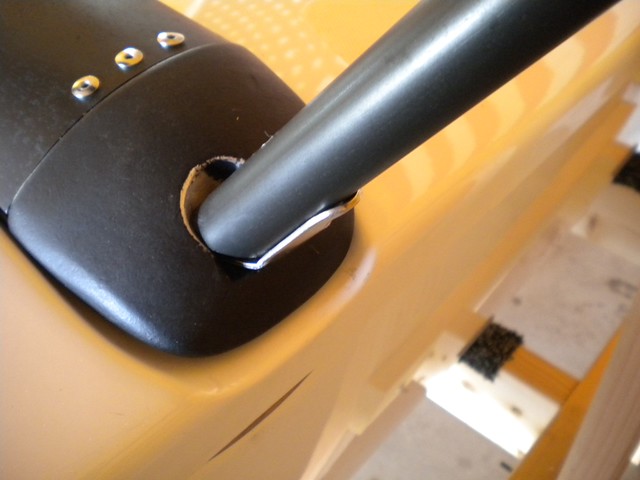
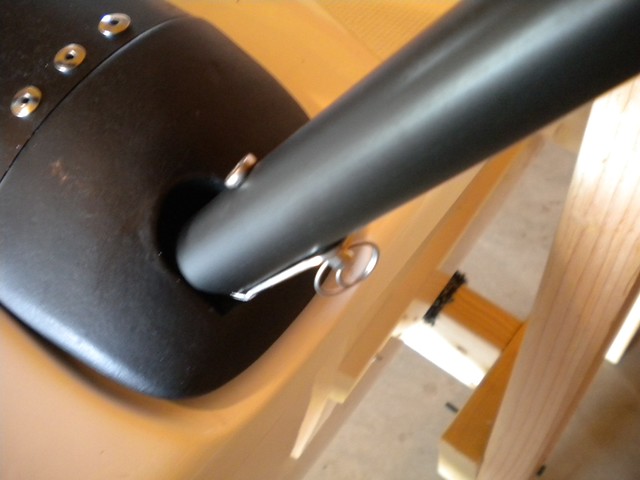
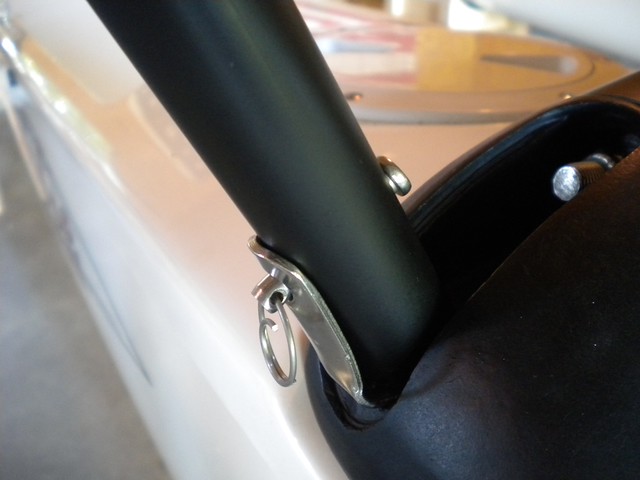
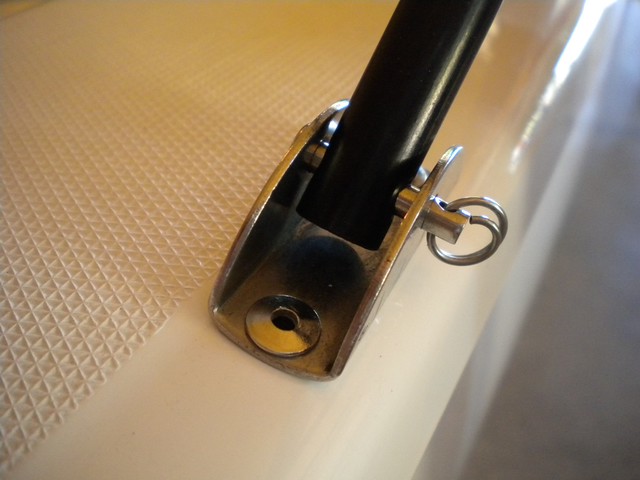
The top bushings (see pic above) I left slightly proud to facilitate retainer pin removal and to keep the retainer pins from rubbing on the castings. Rudder pins are custom polished stainless for a silky smooth feel (for now, at least!).
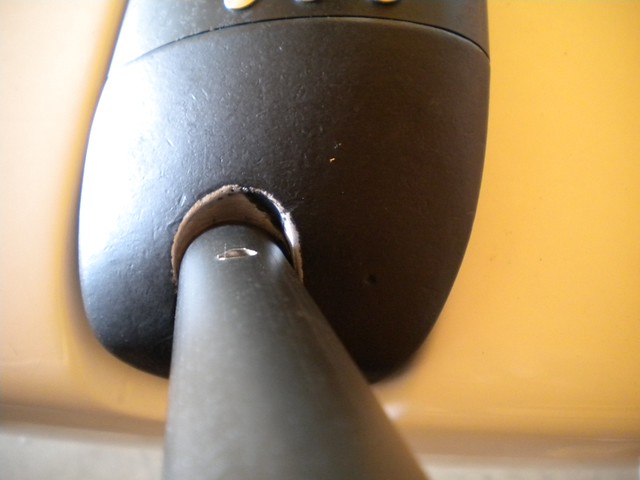
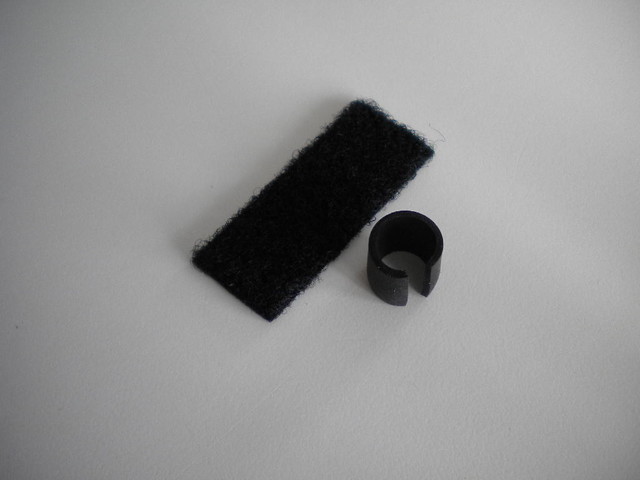
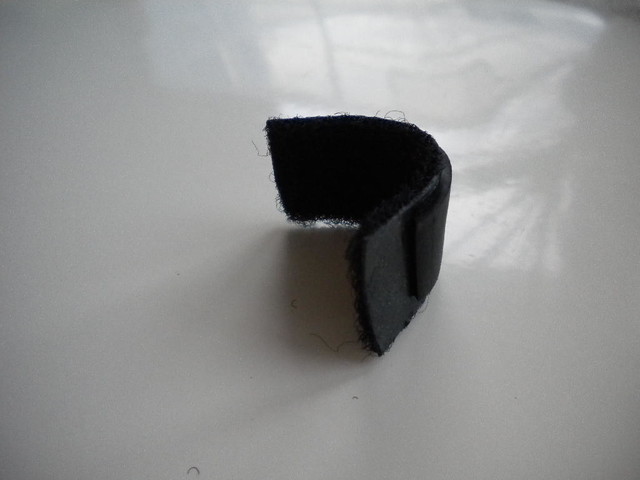
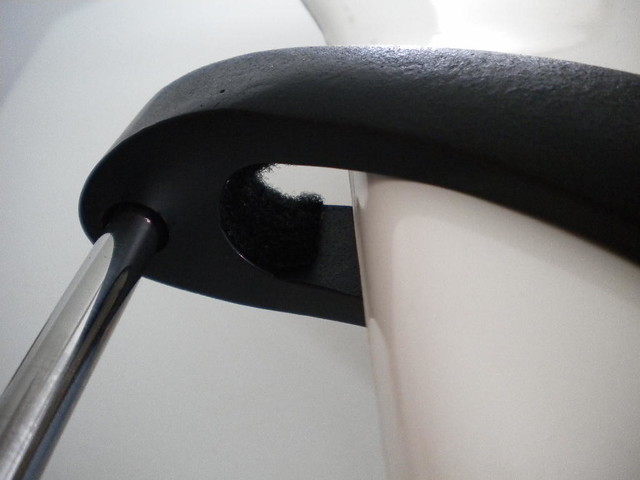
I set my blades up raked forward, and have had good luck using 3M adhesive backed velcro (use the fuzzy side only) as a bump-stop against the casting...use a sliver of rubber (stolen from a soft-grip ink pen) underneath for even more protection or as a shim if needed.
I have previously used the Hobie rudder drill template with unreliable and unsatisfactory results, so I used a different process to locate the holes in the rudder blades & set my rudder rake:
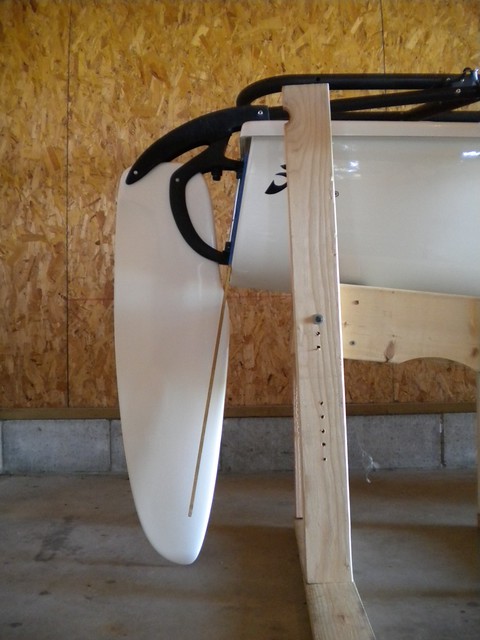
The first step was to attach the lower rudder castings to the transoms.
Next, I zip-tied the upper castings to the lower castings with the adjustable cam & plate set for 85% of the maximum allowable forward rudder rake.
I then taped a nice straightedge (wooden ruler) to the transom.
Next, I fit a new (undrilled) rudder blade into the castings, based on desired rake angles compared to the straightedge attached to the transom, and allowing for edge clearances for holes once drilled in the blade. I then marked the hole locations for the blade through the existing rudder casting holes. This job requires a helper; one person to locate and hold the blade and another person to mark the hole locations. The following photos show this general layout (blade has already been drilled in this photo).
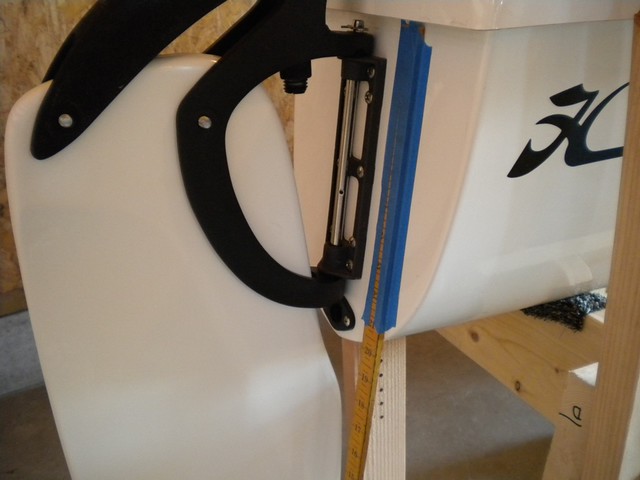
The above process makes certain that the rudder blade will be in the correct position when locked down & sailing (once drilled and installed). I have found that there can be a surprising amount of variance between castings and adjustment plates in the rudder systems, which means that one rudder blade may fit quite differently in separate castings. This is due to the fact that the maximum achievable rudder rake is extremely dependant on the fore-aft placement of the lower rudder casting hole, reletive to both the lower blade bump-stop (or adjustment screw) and the upper casting adjustement system.
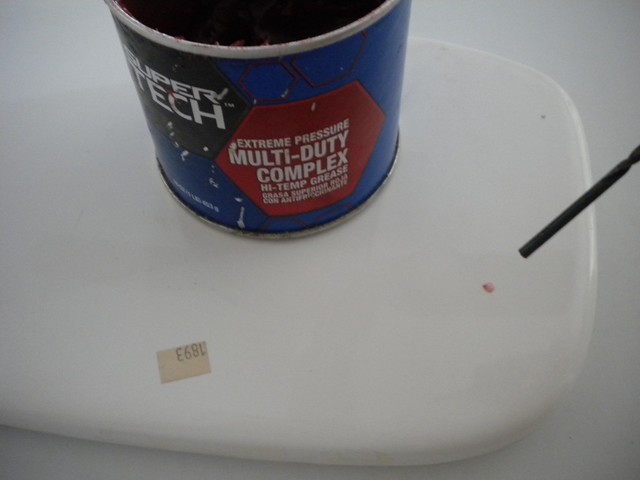
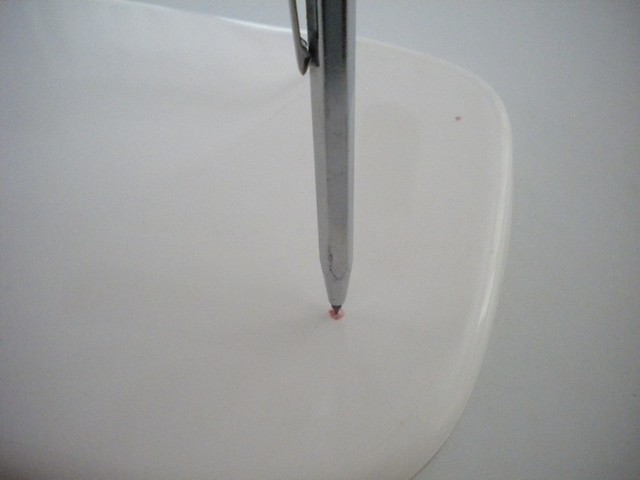
For marking the blades, I used a red lithium grease dabbed on the flat end of a small drill bit:
Using a scribe and hand pressure to mark a center:
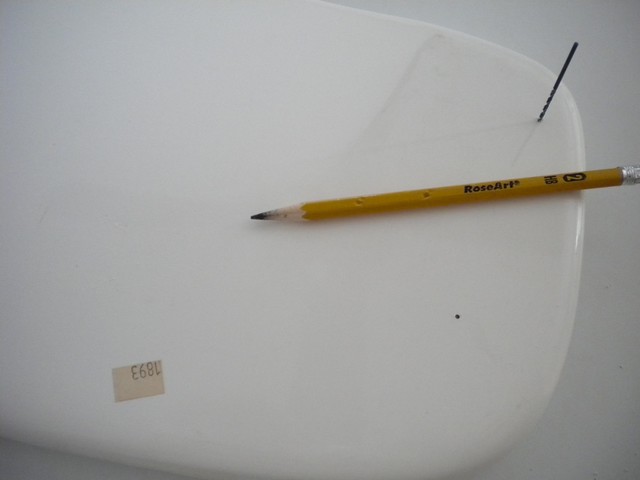
Wipe off the grease and start a pilot by hand with a 1/16" drill:
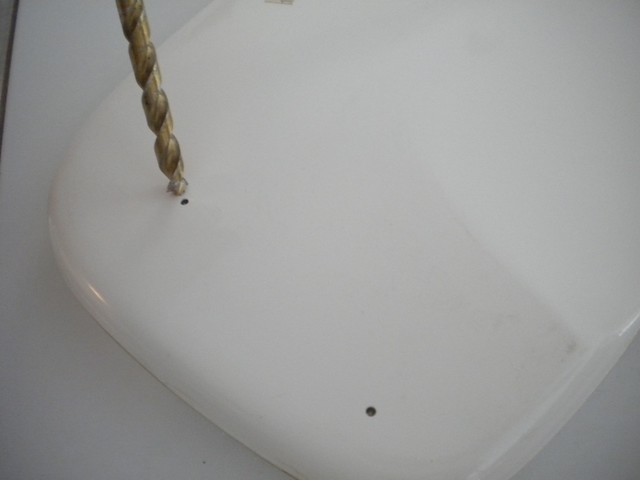
I then enlarge the pilot slightly before using a step drill (and a drill press) to drill the holes through and to final size.
When hanging the newly drilled blades in the rudder castings, you might use a little bit of that extra 15% adjustment range that was saved ahead of time to tighten everything up. Here is another shot of the blade up against my bump-stops:
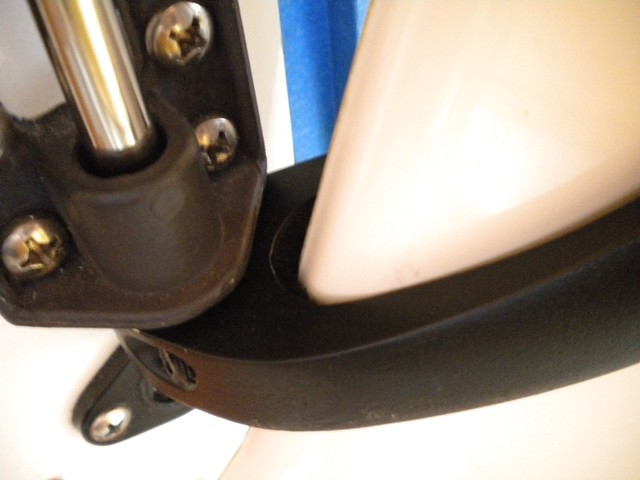
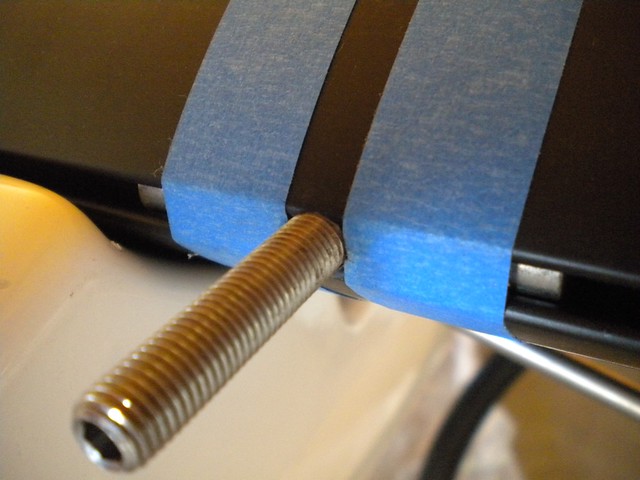
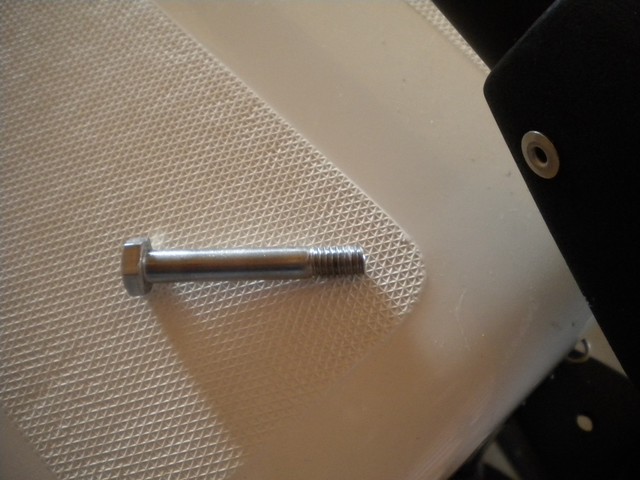
I used some old-stock rudder bolts...these have a longer shoulder (less threads) that fully support the rudder blade...these are the best (if you can find some).
There is a point where too much rake would result in the holes being drilled and the castings being attached to the blade in such a way that the system would NOT lock up for beach storage...I did not realize this until I had already drilled the blades...I was lucky, but I am near the edge of the range...you can see in the next pic that the blades lock up very high. Much more rake forward and I don't believe the castings would travel in such a way to allow the upper casting to get up to the 'step' and sit on the lower casting. However, I have lots of rearward adjustment should sailing prove that they are too far raked forward.
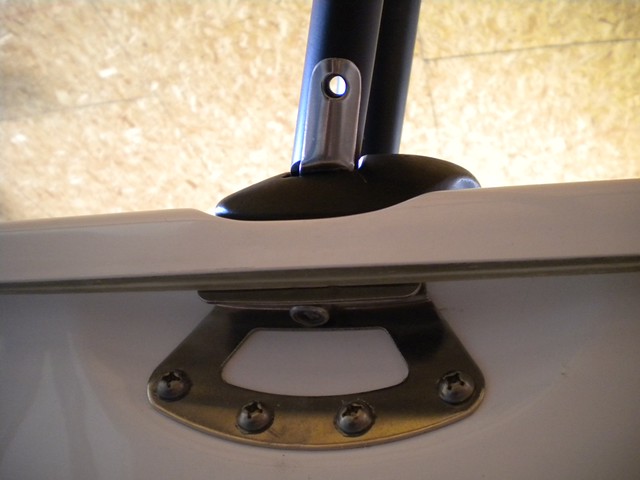
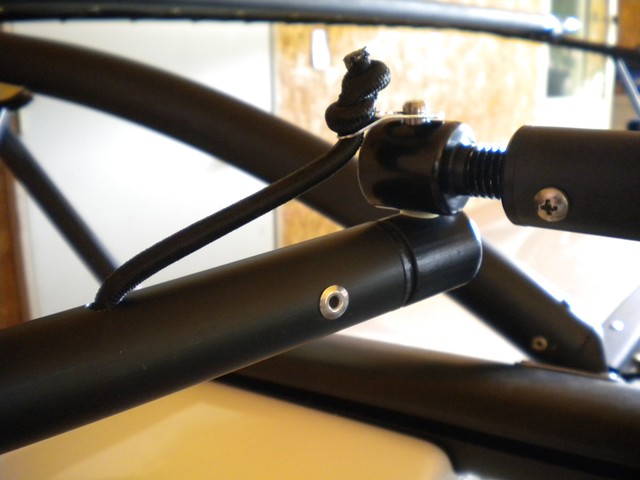
I installed the new-style Miracle 20 adjustable tiller ends:
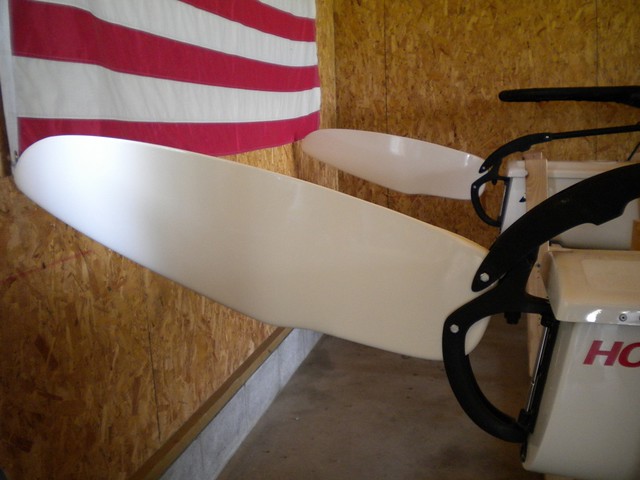
The rudder blades that I am using are some new-old stock white fiberglass blades...I prefer the look of white, but wanted the stiffness and performance of glass...These are a nice blade, and handle really well with a solid feel.