Buckaroo wrote:
Blush !

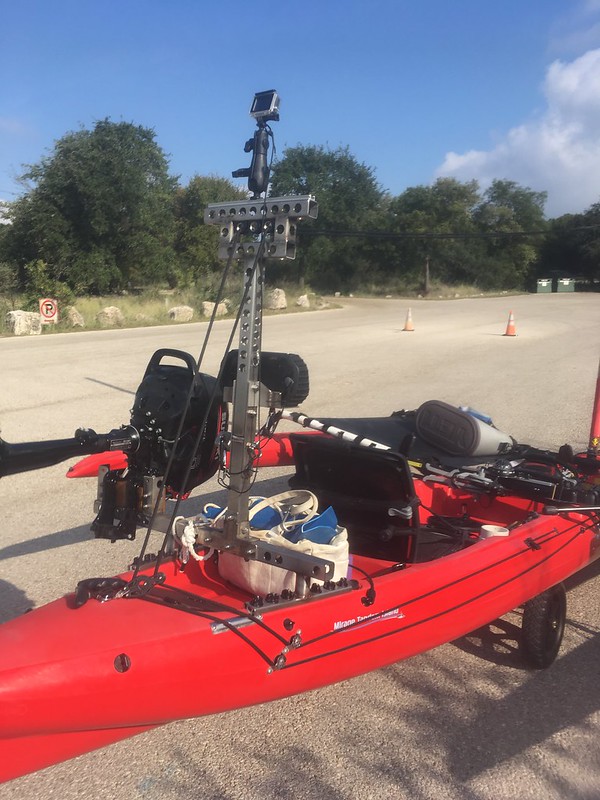
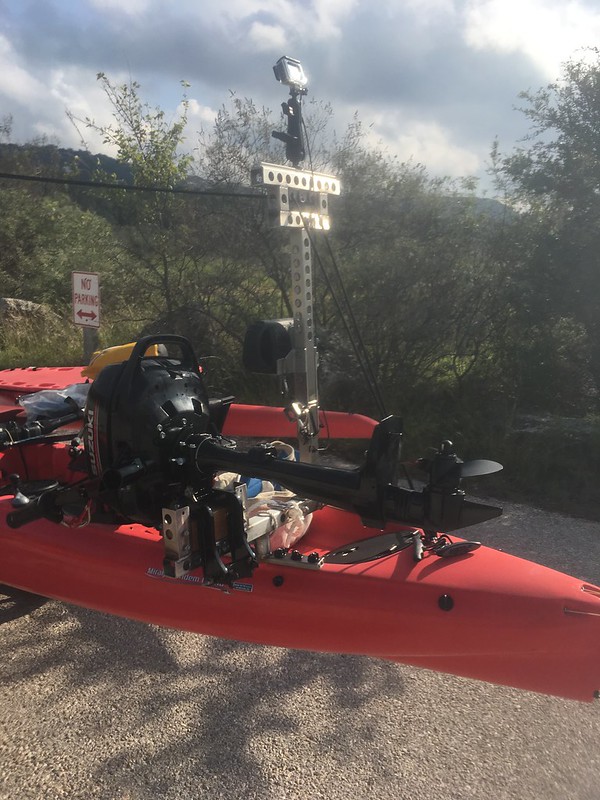
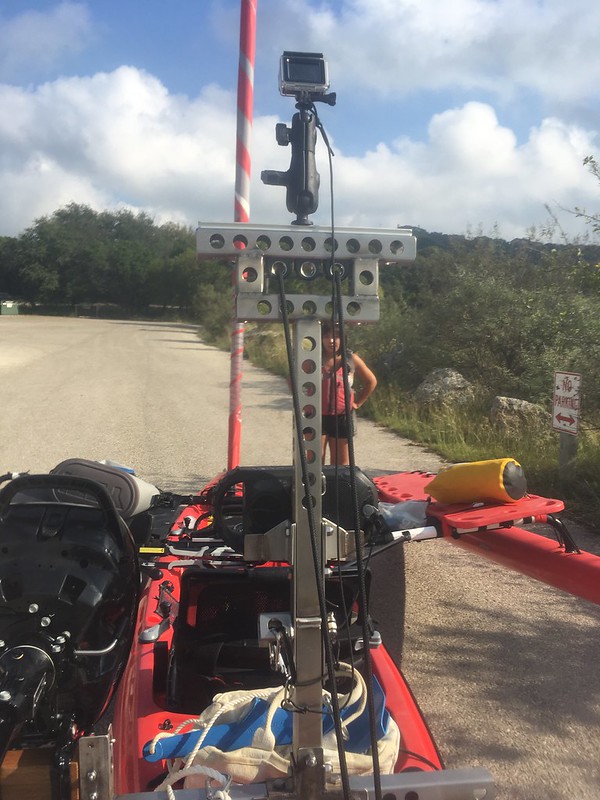
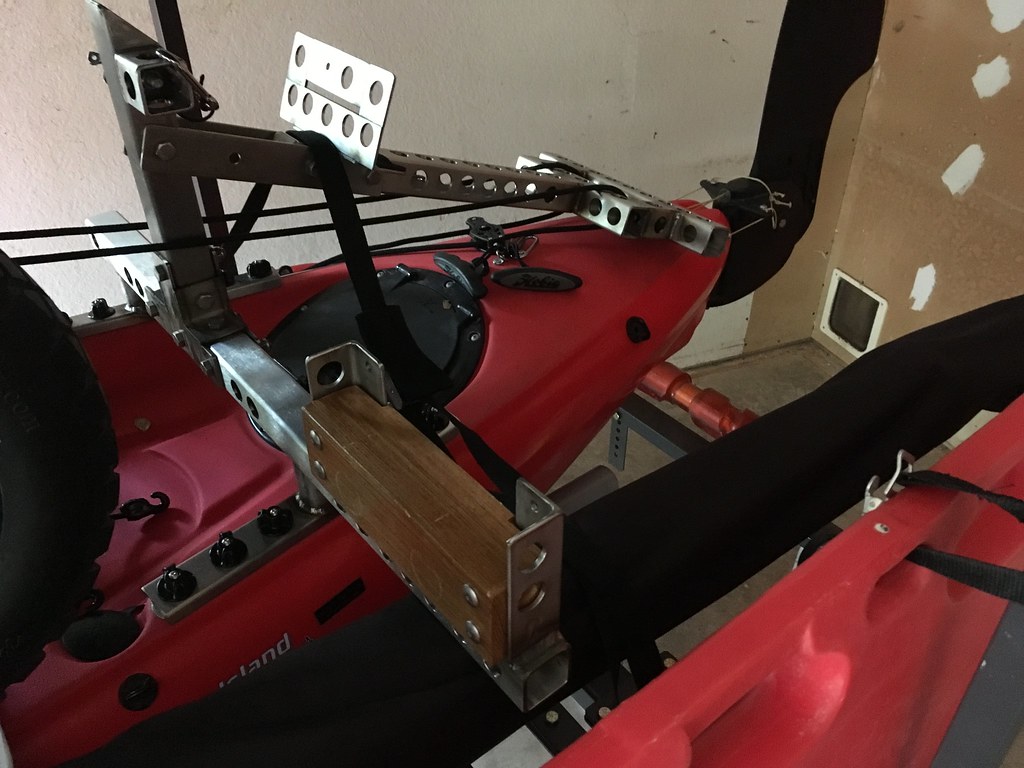
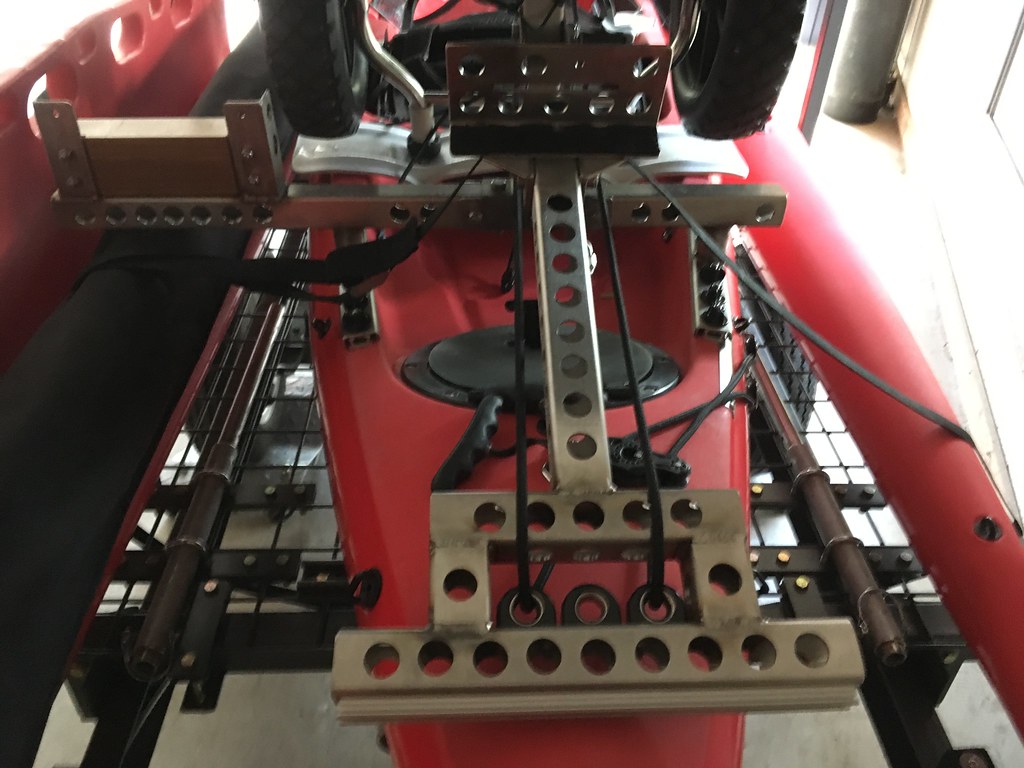
I'll make some video for sure. Been too focused on the motor break in procedure and keeping an eye out for problems with the mount.
First time out I had a lot of water in the hull but later realized the rear hatch O-ring was twisted. Also had three people on the boat and was a bit overloaded.
Second time out had fixed the O-ring and got negligible water in the hull but it was just my 167 Lbs and my girlfriend who is also pretty small.
I'm planning to add an acrylic splash guard on the motor side.
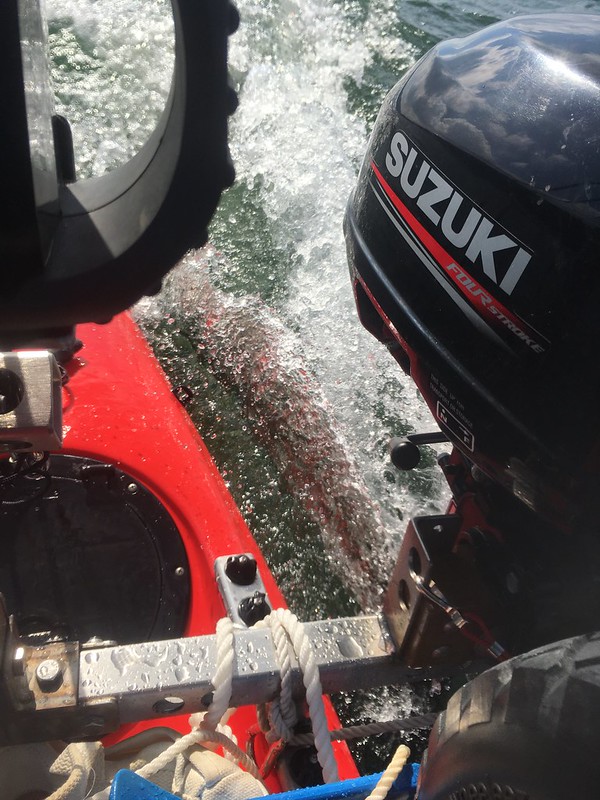
I noticed that water gets washed forward from the rudder assembly onto the places where the control lines enter the hull. I'm not sure how much if any water ends up in the hull. I know the plastic tubes are held in clips under the gunwales but need to see how far forward those tubes go and remain higher than the stern.
Been thinking about what could be placed over the rear hatch and held on with something like a rare earth magnet so that water isn't constantly challenging that vertical gap where the seal sits. There must be something off the shelf that is just the right size. Something Frisbee shaped ?
Thanks for the positive comments !
Chris
Hello Chris!
I had a lot of leakage problems too in the rear of my TI.
I noticed the fishfinder/electronics cap in the rear storage leaked a lot so I sealed that off.
I also got tired of the twisting o-rings in the hatches and glued them down, se copy post below.
Now my TI is bone dry! The rear gets very wet and splashed when using the outboard but not a dropof H2O inside the hull anymore!

Husse0416 wrote:
Water leakage thru the Hobie hatches....
Yesterday I hardly had any water in the kayak and still at times there were about 10cm (4") of water over the front hatch. I figured this would happen so before I set of for the test run I prepared the hatches. I ceaned the grooves and put new silicone grease on the rubberrings and assured there were in the right position.
Today I see again that the rubberrings allready has rotated and are twirled. Unfortunately Hobie has made the groove in the hatches a little to wide and this lets the rubberrings to slip and rotate. (Shape up Hobie!)
Too cure this problem I will try this fix.
I put a small amount of Sikaflex in the grooves of the hatch to stabilize the rubberrings. Put on the Sikaflex with a small tops and tried to keep it tidy. I carefully smeared the thin layer of Sikaflex as evenly as possible and wiped off the excess från the edges of the hatch before reinserting the rubberrings.


I hope that the Sikaflex will keep the rubberring in place in the right position.
Then I put silicone grease on the edge of the hatch as usual.

I will report back if this was a succes (or maybe a total failiure).
It sure would be good to know that you can rely on the hatches not leaking.
/Gustav
EDIT: 2017-08-19
Degrease the grove in the hatch and the rubber carefully before applying the Sikaflex!! (I use etanol)
After opening and closing the hatches about 50 times the rubber rings stay in place in the correct position all the time. No leakage from the hatches at all, none, nill, nada, zinch!!

I have drenched the hatches hard with the garden hoose and it has been raining the last few days and the kayak is still bone dry.
Seems to work so I am very happy with this fix.

Sikaflex usually grips hard and stay on good. I dont know for how long it will hold but if needed I can allways peel of the Sikaflex and redo the fix.
All the best!