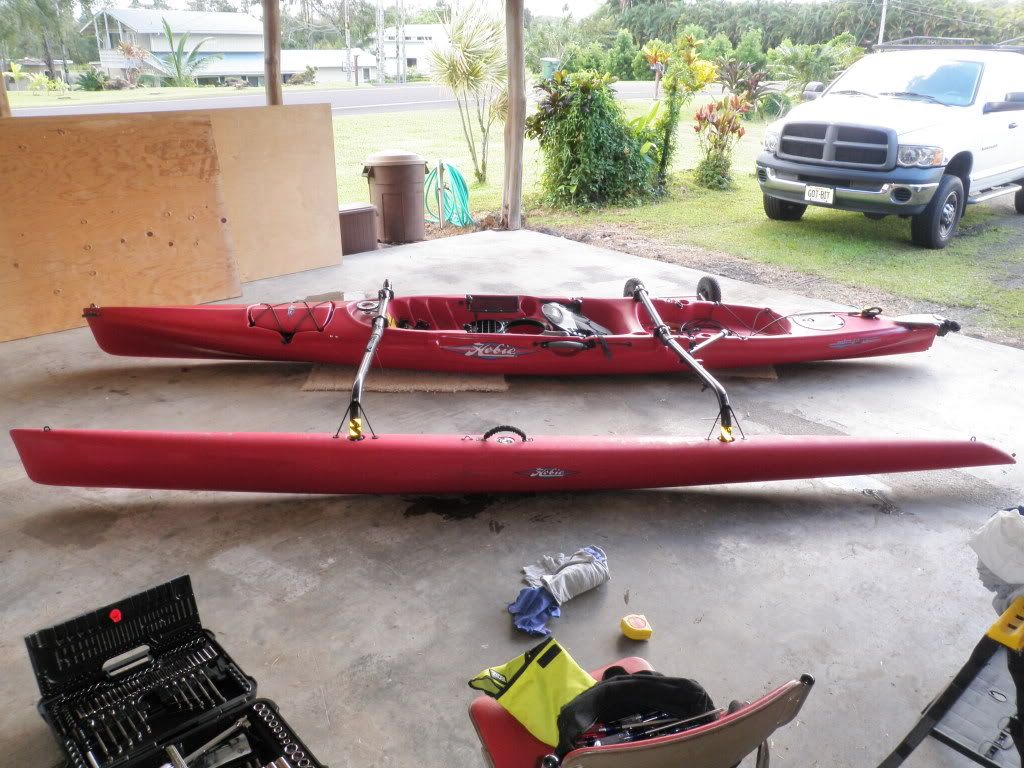
Had a chance to work on the Hapa OA-1 this weekend. Here’s the parts list:
Used 2011 Adventure hull.
79512601 X BAR AI V2 - FWD (For AI but will be adapting my TI's akas and amas)
79512701 X BAR AI V2 – REAR (For AI but will be adapting my TI's akas and amas)
79525001 BALL / BRACE (qty 2)
8030212 SCREW (qty (2), (Replaced with longer versions and so wasn’t needed).
From TI's parts list but I think they're the same as the 2010/2011 AI's.
79510721 X BAR CLAMP TOP (qty 4)
79510731 X BAR CLAMP BOTTOM (qty 4)
8032088 SCREW (qty 8 ), (Replaced 2 of 8 with longer SS screw for forward attachment of clamp. So all you need is qty 6)
8080561 WASHER (qty 8 )
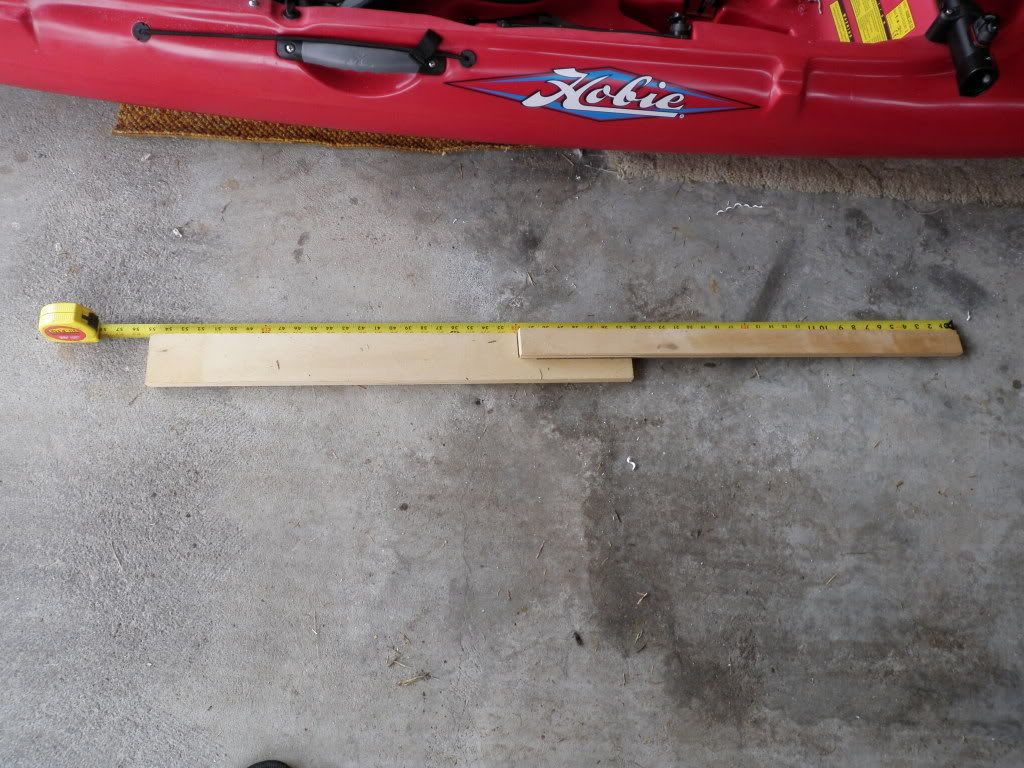
Using two pieces of scrap wood between the akas to help measure, the distance between aka’s on my TI was about 54 15/16” +- 1/8”.
Installing the front xbar was straight forward since I was able to utilize the embedded forward xbar mounting hardware as is.
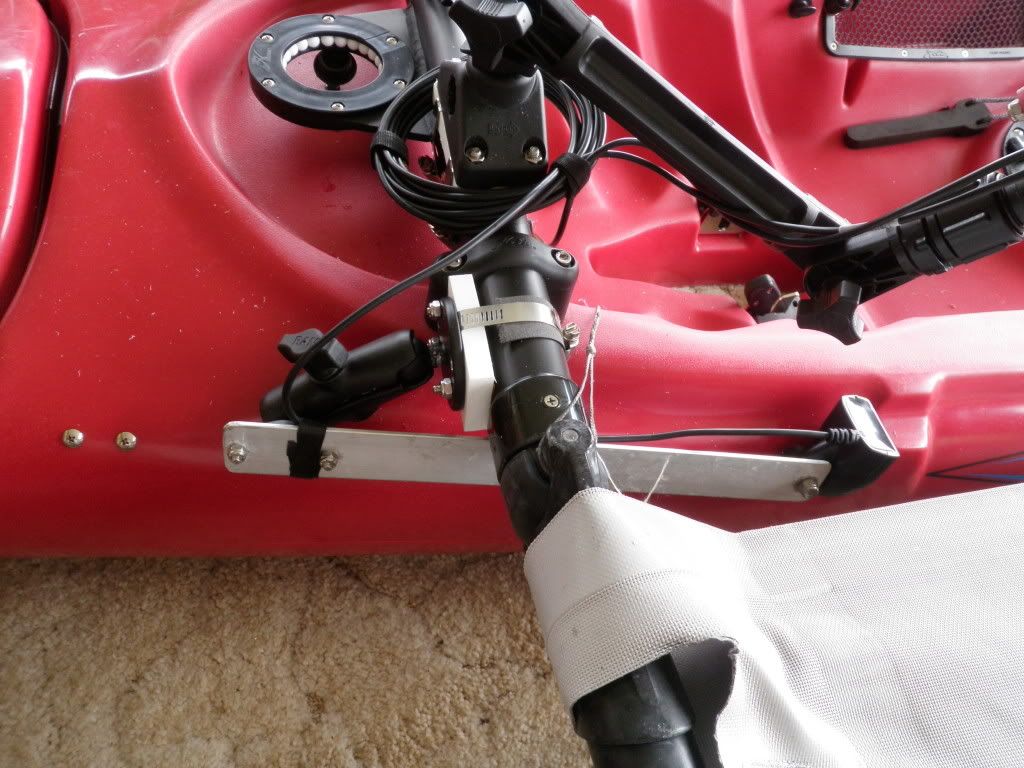
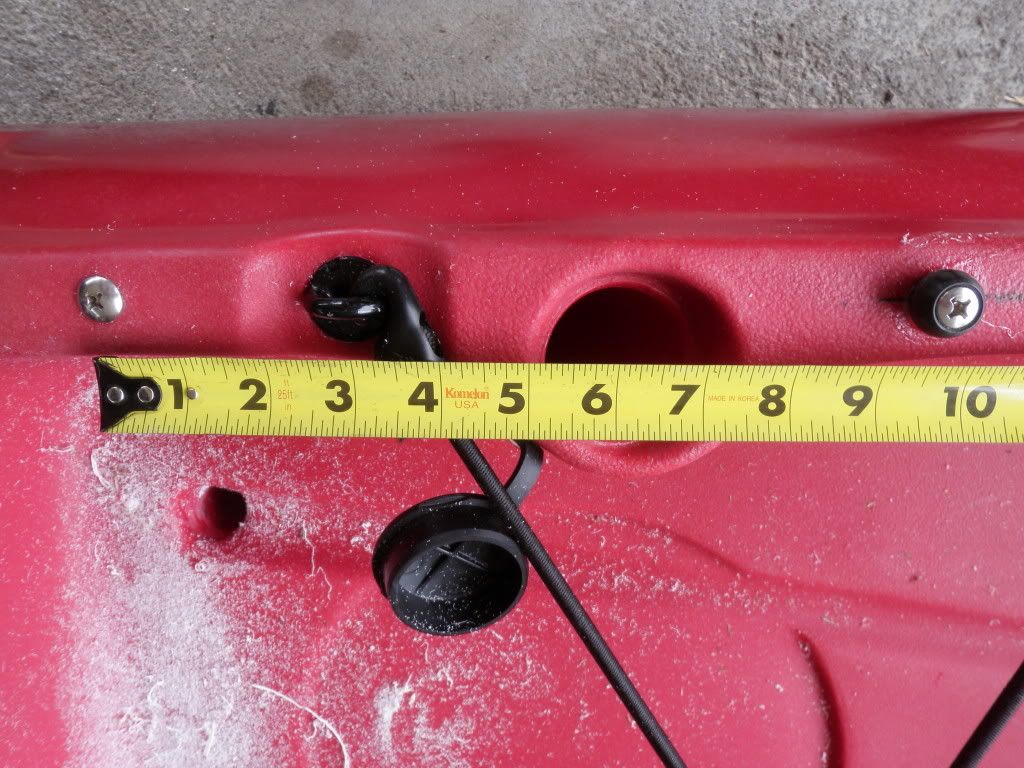
However to match the distance between the xbars on my TI, I mounted the rear xbar a few inches forward. Luckily I was able to use the forward embedded rear xbar mounting hardware to mount rear of the xbar clamp. But I had to drill a hole just above the built-in cleat to mount the front of the xbar clamp. I used a ¼” x 3” screw, 1 ¼” fender washer, and a matching nylon lock nut as a fastener. While tightening the lock nut, the fender washer bent and wedged itself between the cleat and rail cavity for a secure hold. And later filled cavity with silicone sealant.
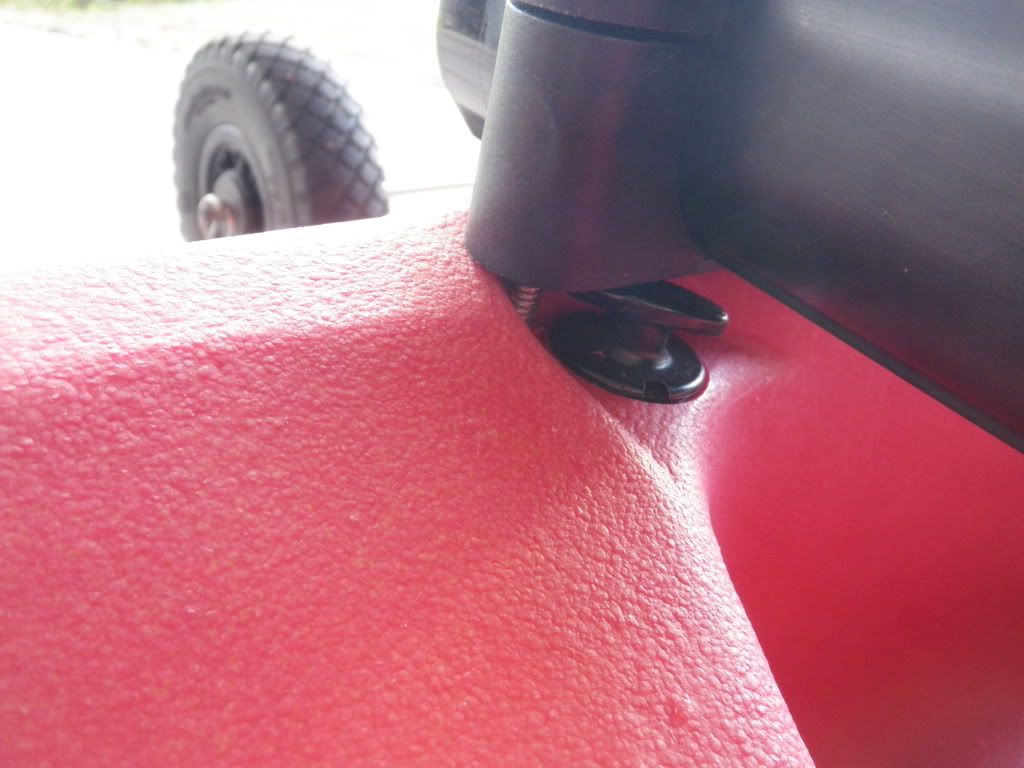
The aka ball brace was installed 9 5/8” (center to center) behind the unused embedded rear xbar mount. I replaced the screw with a longer ¼” x 2” screw, 1” fender washer, and matching nylon lock nut - sealed with silicone adhesive.
Before

And After
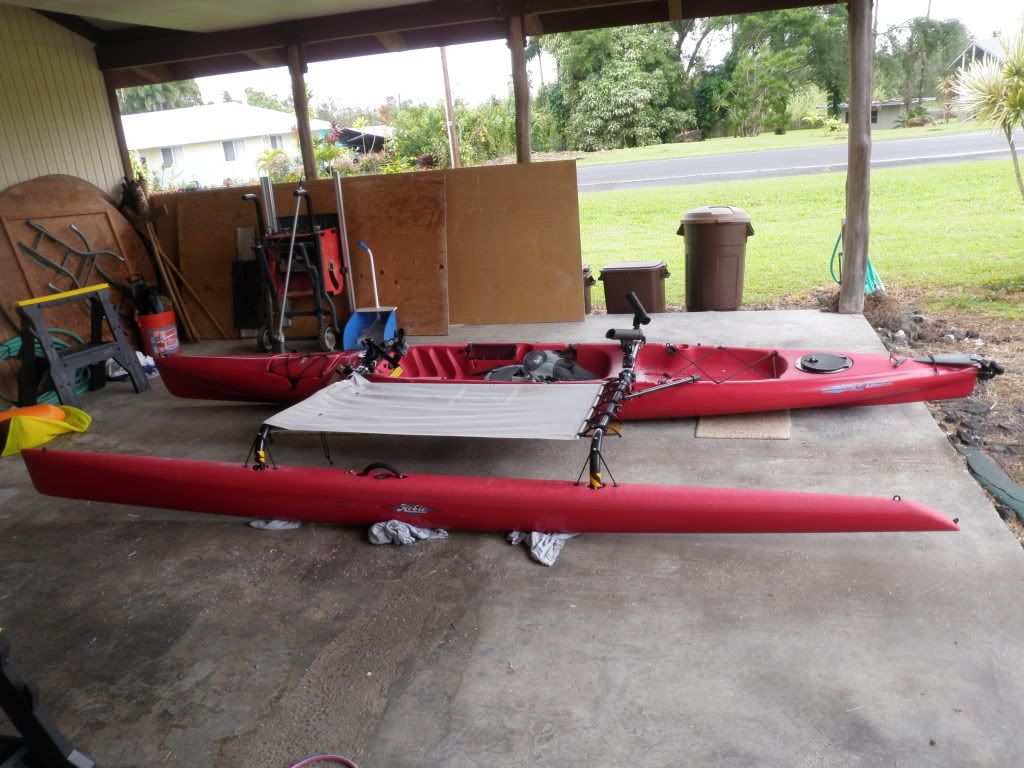
So far so good. Waiting for the weather to clear up so that I can test…
Aloha,
Cliffs2yak