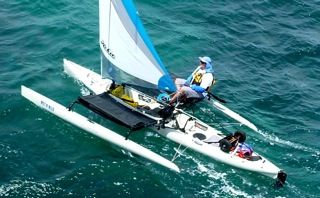
The following pictures show the Wind Indicator I installed on the top my TI mast. I can honestly say now that it was worth the effort to make this device. It's been working great for several months and has helped me to become a better sailor. I've installed two more units on friends boats as well. The first one I made for myself took longer because......? it was the first one, the other two went much faster.
A Mast Light could be attached with a longer Backing Plate. The Vane-Post is removable which is good when transporting, and the installation although it is quite strong, is not permanently fixed to the mast.
I hope this information helps those who have been considering such an installation, or just encourages the creative thinking process that this forum thrives on. Feel free to contact me with any questions.
The Windex Sport10 Indicator is available thru this web site: $34.99
http://www.defender.com/product.jsp?pat ... 1&id=81034Hardware not included with the Windex unit: Approx. $3.00
2, Stainless Steel 1/2" x 1/4" Hex Bolts
3, " " 1/4" Nuts
1, " " 1" x 1/4 Thumb Screw
Small section of 1-1/4" (schedule 40) PVC pipe
A completed unit not yet installed on the mast. (The vise grips are just holding it up for the picture).

I carefully drilled out the top and bottom holes on the Windex J-Base with a 1/4" bit.

What I'm attempting to show here are the steps in making the PVC Backing Plate. I started with a piece of 1-1/4" (schedule 40) PVC pipe which I cut on a table saw into a strip measuring approx. 1,3/8" wide by 2,3/4" long. The bottom image shows a finished, sanded piece with two holes that were made by centering the Windex J-Base on top of the PVC Backing Plate, then marking and drilling two 1/4" holes. PVC sands quite easily, I used a soft sanding flap wheel on my electric grinder, but you could also do this by hand sanding until smooth. I've found that each mast has a different size opening in the Web Loop, and it's important to get a fairly snug fit here. The finished sanded piece on mine measured 1,3/16" wide.

Image showing the inside and outside of an assembled unit.
Note: The Windex 10 comes with a side mount opening tapped for 1/4 threads. I'm using a 1" x 1/4 ss Thumb Screw to hold the Vane-Post in place when I go sailing. The two 1/2" x 1/4" ss Hex Bolts go through the PVC Backing Plate into the J-Base have no washers.


This is the tricky part, take your time. What I did before this picture was taken was I first fitted the PVC Backing Plate in between the Web Loop and centered it. (This is where it is important to have sanded the width of the plate to make a snug fit). I then placed the J-Base on top of and centered on the Web Loop, with the receiving hole for the Vane-Post facing up. With a small crayon pushing down through the bolt holes of the J-Base I marked the two corresponding holes on to the Web Loop and set the J-Base aside.
I then clamped a small 8 penny nail with my vice grips and heated up the pointy end of it with a torch. By carefully and lightly touching the two places on the Web Loop with the end of the hot nail where I had marked the corresponding holes, I melted thru the web material and made two perfectly sealed holes just slightly smaller than 1/4" in dia. If you have centered everything carefully beforehand, these holes will line up with the two holes of your PVC Backing Plate.
Next, there is just enough room in between the inside of the Web Loop and the PVC Backing Plate to push a 1/4" ss nut down to where it lines up with the bottom hole. I then placed the J-Base on top of the Web Loop and fitted a 1/2" x 1/4" bolt through the bottom hole of the J-Base and turned the bolt to catch just the first threads of the nut. I then inserted the top bolt and did the same thing. Sometimes I can tighten the bolts without pushing something inside to catch the nut, other times I have had to push a small tool inside to hold the nut from turning.


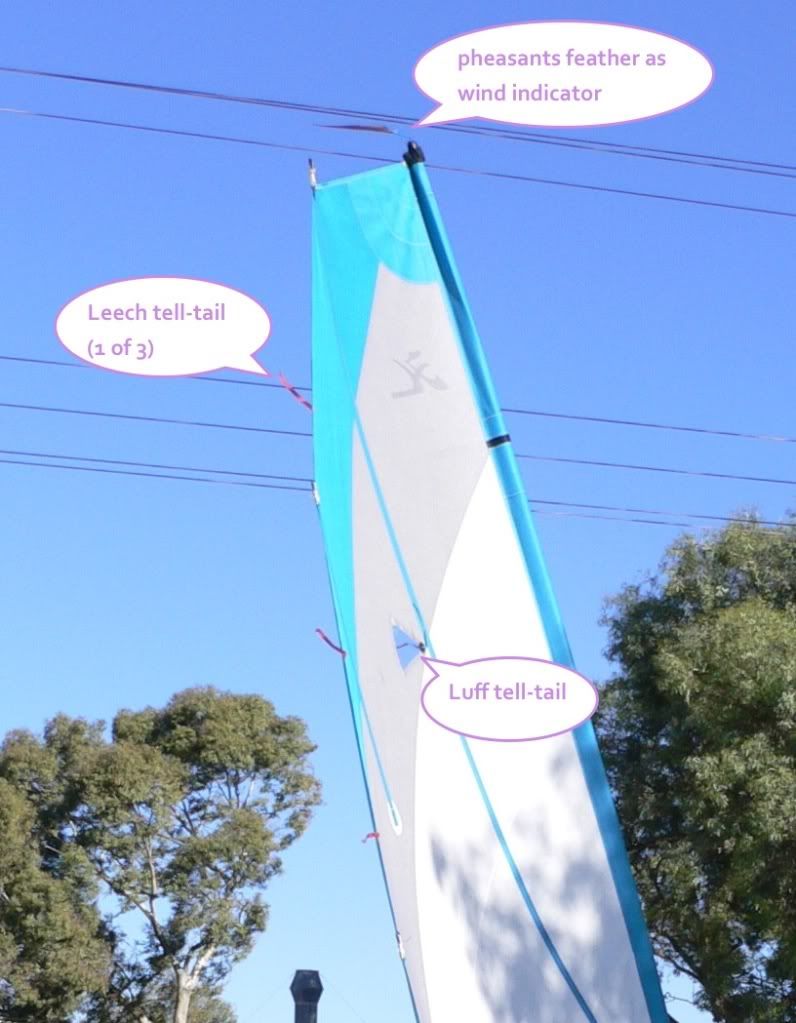
Here is the Wind Indicator as it appears on the top of my mast.


