Return to Hobie.com
Hobie Forums
It is currently Fri Jul 18, 2025 1:40 pm

All times are UTC - 8 hours [ DST ]


Post new topic Reply to topic  [ 36 posts ]  Go to page Previous  1, 2, 3  Next
Author Message
 Post subject:
PostPosted: Sun Sep 28, 2008 12:21 pm 
Offline
Site Rank - Old Salt

Joined: Thu Jul 27, 2006 4:50 pm
Posts: 494
Location: sacramento california
Bummer Revo :?
Were you trying to mount the sidekicks just behind your seat?
It looks like you could be able to reach in from the round hatch in front of the seat and go underneath the seat with a socket and extension to thread a nut onto the mount screws.

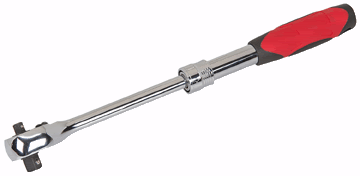
Here is a tool that might help @ $14.99
I can give you the link if you are interested.


Image


Extends from 8-1/2" to 12-1/2" long
4 locking positions
TPR handle for comfort and improved grip
72-tooth gear action
Heavy duty chrome vanadium steel construction for strength and durability
Anvil/drive size: 3/8" and 1/4"

Head dimensions: 2" L x 1-1/4" W x 11/16" T; Shank dimensions: 4-3/16" L x 1/2" OD; Handle dimensions: 6-5/16" L x 1-3/16" W x 1" H. x 7/8" OD; Overall dimensions: Extended: 12-1/2" L x 1-1/4" W x 1-1/2" H; Retracted: 8-1/2" L x 1-1/4" W x 1-1/2" H;
Weight: 0.98 lbs.


ITEM 98802-0VGA

$14.99

Kepnutz


Top
 Profile  
 
 Post subject:
PostPosted: Sun Sep 28, 2008 12:48 pm 
Offline
Site Rank - Old Salt

Joined: Fri Jun 06, 2008 1:53 pm
Posts: 395
Location: S.E. Florida
Hey Kep,

Yep, It is mounted just behind the seat and used a 6" and a 10" long ratchet with and without extensions. Just maneuvering the ratchet under seat or well to then turn up into the recess of the gunwhale just could not keep the nut & washer on and still keep a good grip on the ratchet. Not to say won't try again but for now am going to see how the longer wellnuts do. Many have posted they never had one pull out so I will have to be a gambler for now .... might take a swim.

I feel alot more confident with the 1-1/2" long wellnut than the 1" length. As much confidence as one can have with a wellnut. I would keep a spare set in my dry bag just as backup.

Send the website on that telescoping ratchet, You never know might do the trick.

_________________
I would rather be kayaking and think about work than to be at work thinking about kayaking.
A Thrill Ride is being dragged around in your kayak for 40 minutes by an extremely large fish.


Top
 Profile  
 
 Post subject:
PostPosted: Sun Sep 28, 2008 1:39 pm 
Offline
Site Rank - Old Salt

Joined: Fri Jun 06, 2008 1:53 pm
Posts: 395
Location: S.E. Florida
Stupid is as Stupid does as Forrest would say.

The location was my original install before I even heard about wellnut issues, so I am stuck with the location. I refuse to make new holes.
Had I planned a thru-bolt attachment I would have found an easier location.

The obstacles are getting the nuts and washers up in between the rod holder, scupper tube and the rudder up/down lever assembly and cable on the starboard side and up in between the rod holder, scupper tube and the rudder control cable on the port. Plenty of tight space and things to knock the washer & nut off the socket.

I do not recommend that mounting location on a revo to anyone wanting the thru-bolt attachment. Secondly it does bring the Amas to far forward where they can conflict with your paddle stroke. Setting the adjustment holes facing aft and using my wifes shorter paddle (210cm) I manage to clear them. I paddle occasionally with my large 95# overly excited labrador retriever in the well using the amas for stability since she jumps around alot. I alternate paddle and pedaling for excercise but primary use of the sidekick is sailing. Just food for thought for anyone else contemplating that mounting location.

_________________
I would rather be kayaking and think about work than to be at work thinking about kayaking.
A Thrill Ride is being dragged around in your kayak for 40 minutes by an extremely large fish.


Top
 Profile  
 
 Post subject:
PostPosted: Sun Sep 28, 2008 2:35 pm 
Offline
Site Rank - Old Salt

Joined: Thu Jul 27, 2006 4:50 pm
Posts: 494
Location: sacramento california
Hey Revo
I dont blame you. :x
I did not want to drill new holes and try to fill the old holes after my well nuts pulled out either.
I used longer well nuts with longer screws without sucess , hopefully yours will hold better than mine did.

I did not have a lot of obstructions in the Oasis when through bolting , in fact none that I can recall. The only issue for me was being able to reach in with a wrench and I did manage to do it but it was a hassle.
I just went shoulder deep in the hatch with a socket wrench in one hand while I had my other hand on a screw driver out side the hull on top of the mount.

It was a nuisance doing it this way but I had no helper and just wanted to "Git er Done" .
I did scotch tape the nylon locknut and flat washer together then punched a hole down through the middle of it so the threads would engage when I tried to spin the nut and washer onto the threads.

Would it be any easier for you if you put the screws on from inside the hull and the nuts on the outside of the mount instead ?
If you had someone on the outside grab the screw thread as it poked up through the mount and put a nut on it then maybe that might be easier to manage.
Perhaps you could use a longer screw and maybe that might help things along also.
Just a thought.. :wink:
Kepnutz


Top
 Profile  
 
 Post subject:
PostPosted: Sun Sep 28, 2008 5:18 pm 
Offline
Site Rank - Old Salt

Joined: Fri Jun 06, 2008 1:53 pm
Posts: 395
Location: S.E. Florida
Funny you mentioned tape. One of the other methods we tried we taped the washers together with the nut to the rachet and still they got knocked off. We used thread through the nut/washer/rubber washer pulled to hole to try and get a few threads started only to lose them again in a several attempts. We even used a sawed off screw lighlty setting threads into the nut/washer and taped the whole thing to the ratchet to assist getting the washer nut lined up with the hole which we did but then backing out the threaded rod the washer/nut shifted and lost the assembly again. Need I mention FRUSTRATION ... we did not give up easily nor have we totally been beaten. We will try again.

I was exploring the idea of making a backer bar drilled to insert screws forming a "U" bolt and glue the whole assembly screws washers and the backing together and inserting from inside out, fill the oversized hole with marine goop and use nuts on the outside.

Dropping a string down each hole taped to the screw threads it can be fished into place held in place with needle nose vise grip. Could even get individual screw & washers in from reverse that way but ........

What shoots that idea in the foot is how to keep the screws from spinning preventing you from getting the whole assembly tight. Trying to find a philips head blind is worse than finding a nut. Back to the drawing board.

Take a look at the top view of a revo and my crossbar is aligned end to end perfectly from rear paddle holder to rear paddle holder just in front of the drain scupper holes below.

Sorry to drag this post on but hopefully someone will learn from my mistake. I will keep ya posted on how the longer wellnuts fair or my final thru-bolt solution/success/failure.

_________________
I would rather be kayaking and think about work than to be at work thinking about kayaking.
A Thrill Ride is being dragged around in your kayak for 40 minutes by an extremely large fish.


Top
 Profile  
 
 Post subject:
PostPosted: Sun Sep 28, 2008 5:48 pm 
Offline
Site Rank - Old Salt

Joined: Thu Jul 27, 2006 4:50 pm
Posts: 494
Location: sacramento california
Hey Revo
You can always get some hex head machine screws in a 10-32 thread which would then enable you to use a socket wrench instead of a Phillips head screw driver :wink:
Just a thought
Kepnutz


Top
 Profile  
 
 Post subject:
PostPosted: Sun Sep 28, 2008 6:01 pm 
Offline
Site Rank - Captain

Joined: Thu Sep 11, 2008 6:42 pm
Posts: 62
I certainly hope the Hobie engineers are aware of this discussion. I am about to buy a new Oasis, and that is disappointing I have to correct their engineering mistakes.


Top
 Profile  
 
 Post subject:
PostPosted: Sun Sep 28, 2008 8:45 pm 
Offline
Site Rank - Old Salt

Joined: Thu Jul 27, 2006 4:50 pm
Posts: 494
Location: sacramento california
No worries Jor :lol:
They did not make an engineering mistake at Hobie on the Oasis Tandem.
We are simply trying to make a DIY hardware improvement that requires more effort than most people want to bother with.
Sometimes we create our own headaches when trying to re-engineer things.
The Sidekick mount kit should work just fine if you decide to add one on to your new kayak.
If you are uncertain about putting it on yourself ,your local Hobie dealer should be able to assist you.
Im sure you will enjoy your new Oasis as we and many others have around the globe .
Our Oasis has been very reliable and trouble free, yours will be as well
Have Fun Out There
Kepnutz


Image


Image

Image

Image

Image

Image

Image

Image


Top
 Profile  
 
 Post subject:
PostPosted: Sun Sep 28, 2008 9:01 pm 
Offline
Site Rank - Old Salt

Joined: Fri Jun 06, 2008 1:53 pm
Posts: 395
Location: S.E. Florida
Yes Kep thought of that after I posted the philips thing.

I have another idea in the works and if successful will post the process.
I have not abandoned the Jack Nuts either. I will check Monday on price/qty in brass and wrench pricing.

Jorhyne, I believe the Hobie engineers are well aware of it. I have been reading posts on it for over 6 months. Seems the wellnuts are the accepted method or thru bolt them. Sadly most installs are blind installations so it takes some preplanning and a little bit of a hassle to thru bolt depending where you mount them. My case is an after the fact situation, I used wellnuts now have the 3/8" holes and not knowing the wellnuts could pop out I chose a location that suited my purpose, only to find out later it really makes thru-bolting difficult. Location, location, location would have to apply to sidekicks too.

A great thing of the forum .. someone always willing to help and offer ideas and suggestions which I have made use of in other areas.

_________________
I would rather be kayaking and think about work than to be at work thinking about kayaking.
A Thrill Ride is being dragged around in your kayak for 40 minutes by an extremely large fish.


Top
 Profile  
 
 Post subject:
PostPosted: Mon Sep 29, 2008 8:16 pm 
Offline
Site Rank - Captain

Joined: Thu Sep 11, 2008 6:42 pm
Posts: 62
kepnutz wrote:
The Sidekick mount kit should work just fine if you decide to add one on to your new kayak.
If you are uncertain about putting it on yourself ,your local Hobie dealer should be able to assist you.


Obviously it is not "just fine" or else there wouldn't be this huge discussion about this issue. I don't have a problem making custom mods to my boat, I am just wondering why such a glaring issue is not addressed. For instance I see where people have had to get epoxy and repair the holes from when the sidekick bar ripped out. That should not happen.


Top
 Profile  
 
 Post subject:
PostPosted: Tue Sep 30, 2008 10:59 am 
Offline
Site Rank - Old Salt

Joined: Fri Jun 06, 2008 1:53 pm
Posts: 395
Location: S.E. Florida
Jorhyne,

Believe me when I say I have too read all the scary posts on wellnut issues and you have to bear in mind the the intended design of the kayak, the sail kit and amas.

The kayak is a rotomolded plastic product. From what I have read the sail is intended for 6 - 10 mph winds (Hobie confirm if I am wrong) as an assist to paddling. The sidekick is for added stability typically for fishing and standing and adds stability when sailing in gusty conditions where the kayak can overturn.

Some people push the yaks and sail beyond these limits 15-20 mph winds and waves. This makes thru bolting the sidekick more crucial which is easily accomplished if you locate them properly. I have the revolution and I just elected to put the sidekick in a tough thru-bolting location. I have been out in 10-15mph winds without any pop-out. Upon removal of my old wellnuts the one that was releasing was torn. That wellnut I had tightened and loosened again and retightened which I have found out is not recommended. The other three were just fine and I have buried the amas pretty deep in the water hiked out on a windy day.

REMEMBER THIS: It is a kayak! not a sailboat. If sailing is your primary interest then Hobie sells the Adventure Island or many other fine sailboats. If you want just a great kayak with a sail assist without going extreme or a very stable kayak for fishing with the sidekick then wellnuts hold just fine and meet design criteria. I sailed for months without sidekicks and it was when I got into 15mph gusts and almost rolled over that I decided on adding sidekicks. I tour, fish, pedal/paddle excercise and sail it. The revolution meets and exceeds all my expectations. A GREAT KAYAK! Kudos to Hobie for a fine product.

I want all to know I did not start this post to knock Hobie or their designs in any way. If you read the starting post it was simply a question of longer wellnuts in lieu of the kit provided ones. I ELECTED to attempt to thru-bolt in my unique situation. And YES I, as well as others, may be pushing the limits of the sail kit/amas so don't blame the wellnuts.

Buy your Oasis with confidence and you will not regret your decision and
you have a great support forum to visit with many people willing to share ideas, installation tips, experiences and new creative and innovative ideas.

_________________
I would rather be kayaking and think about work than to be at work thinking about kayaking.
A Thrill Ride is being dragged around in your kayak for 40 minutes by an extremely large fish.


Top
 Profile  
 
 Post subject:
PostPosted: Tue Sep 30, 2008 6:21 pm 
Offline
Site Rank - Old Salt

Joined: Thu Jul 27, 2006 4:50 pm
Posts: 494
Location: sacramento california
Hey Jorhyne


Jorhyne wrote:
Quote:
I don't have a problem making custom mods to my boat,


Then like I said before , you should be ok with sidekicks

Quote:
The Sidekick mount kit should work just fine if you decide to add one on to your new kayak.
If you are uncertain about putting it on yourself ,your local Hobie dealer should be able to assist you.


These Hobie kayaks are very well built and the engineering decisions made on this Sidekick mounting kit most likely were done in order to make it the simplest, most uncomplicated, economical attachment solution for the majority of the users out there .

This type of anchoring solution is very practical for a manufacturer to supply because this gives everyone the basic fastening materials needed to attach their product to the kayak.
These type anchors have been used in the kayak industry for many years and probably will continue to be for many more years.
This is simply one of the prefered standard methods used by most all Mfgrs. for mounting hardware / equipment to their kayaks when it is difficult or impossible to reach both sides of the base material.

It would be a real nightmare for Hobie to have to supply everybody, in a sidekick mounting kit, all the various lengths of screws, nuts, washers, sealing washers and backing plates that would be required to cover all the different sidekick mounting senarios, on all the various models of boats, with all the different locations on each kayak that people may decide to mount them in using the through bolting method.

If Hobie did try to supply this type of solution with the Sidekicks , we could wind up with a very complicated mounting kit that could easily have 20 pages of different subsets of mounting instructions with over 100 different parts , screws. nuts and washers needed in order to cover all the bases, for all the models and all the possible mounting locations.
Even by Hobie using this through bolting approach then, although it's perhaps among one of the most reliable mounting methods , it would probably increase the current sidekick mounting issues being discussed on this forum to well over ten fold. :x

Along those same lines then there would now be a much longer list of the different types and sizes of tools each end user would now need in order to install the sidekicks using the through bolt method.

In that sense, therefore, the well nuts make a very practical, widespread , simple mounting solution for the majority of the installation applications.
Sometimes the well nuts do not live up to real world, end user expectations and/ or are installed improperly, and thus on occasion they do fail.
This is what I believe the forums are here for, not to bash each other or the manufacturer, but to to exchange fixes, ideas, new places to go, new ways to go about doing things, as well as basic maintenence, changes and factory upgrades.

Again let me point out that Hobie does not make the wellnuts, they simply distribute them to everybody as a mounting convenience for the customers who buy the sidekick kit.
We are then; always free to go in another direction of our own choosing , in order to mount these kits by using some other fastening method . :wink:


Have Fun Out There
Kepnutz

Last edited by kepnutz on Wed Oct 01, 2008 7:54 am, edited 1 time in total.

Top
 Profile  
 
 Post subject:
PostPosted: Wed Oct 01, 2008 4:55 am 
Offline
Site Rank - Old Salt

Joined: Fri Jun 06, 2008 1:53 pm
Posts: 395
Location: S.E. Florida
In defense of wellnuts look at the sail install pdf link below. On page 2 the OPTIMUM Wind is 4 to 10mph. Sidekick Wellnuts can withstand that and more as well as stability standing fly fishing without worries.

Very good points made Kepnutz and to add one .. some SOT yaks don't even have hatches to reach inside to thru bolt so a blind fastener is the only choice. The sidekick is designed to be a universal fit for most SOT kayaks.

http://static.hobiecat.com/2010_archive/support/pdfs/OutSailKit.pdf

I also want to say wellnuts are cheap and most hardware stores carry them, if one starts to fail its $1.00 each and a screwdriver to replace them.
I carry spare ones in my bailer/drybox along with a small screwdriver .. never let a wellnut ruin your day and I have enough of them on my revo between anchor trolley, night lighting, sidekick, padeyes, cam cleat and ram holders . Wise to carry a Mirage Drive repair kit as well especially for long outings or distances.

Have Fun

_________________
I would rather be kayaking and think about work than to be at work thinking about kayaking.
A Thrill Ride is being dragged around in your kayak for 40 minutes by an extremely large fish.


Top
 Profile  
 
 Post subject:
PostPosted: Wed Oct 01, 2008 7:51 am 
Offline
Site Rank - Old Salt

Joined: Thu Jul 27, 2006 4:50 pm
Posts: 494
Location: sacramento california
Hi Ya Revo :wink:
I also have four or five well nuts in my on board mirage drive repair kit that I take with me on every outing along with screw drivers , alan wrenches , pliers , plus a variety of screws, nuts bolts and some duct tape.
Well nuts still suck though... :lol:
Kepnutz


Top
 Profile  
 
 Post subject:
PostPosted: Wed Oct 01, 2008 2:31 pm 
Offline
Site Rank - Old Salt

Joined: Fri Jun 06, 2008 1:53 pm
Posts: 395
Location: S.E. Florida
Hey Kep,

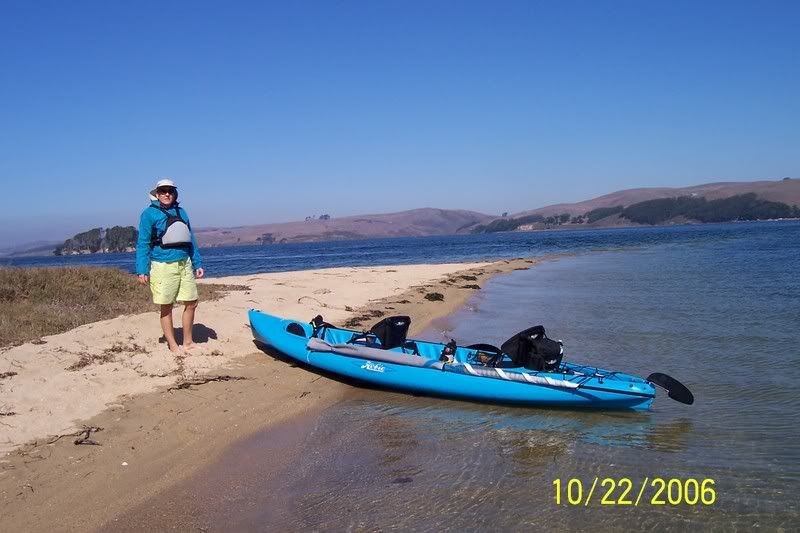
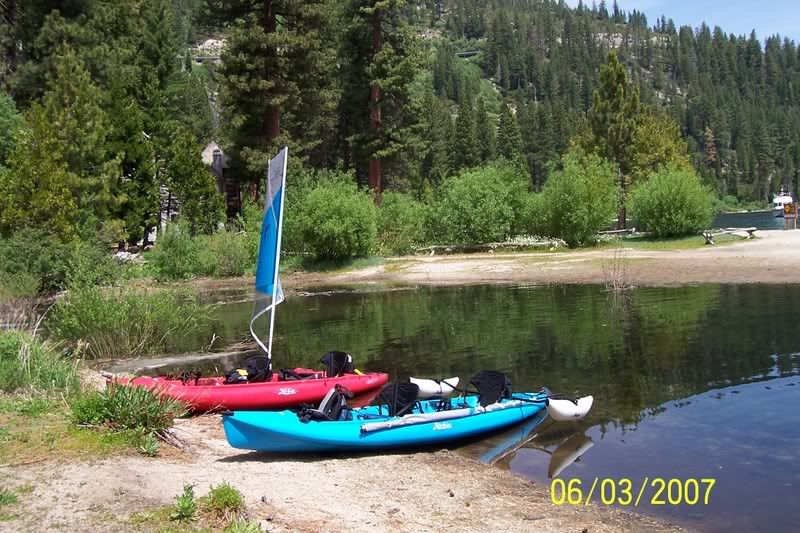
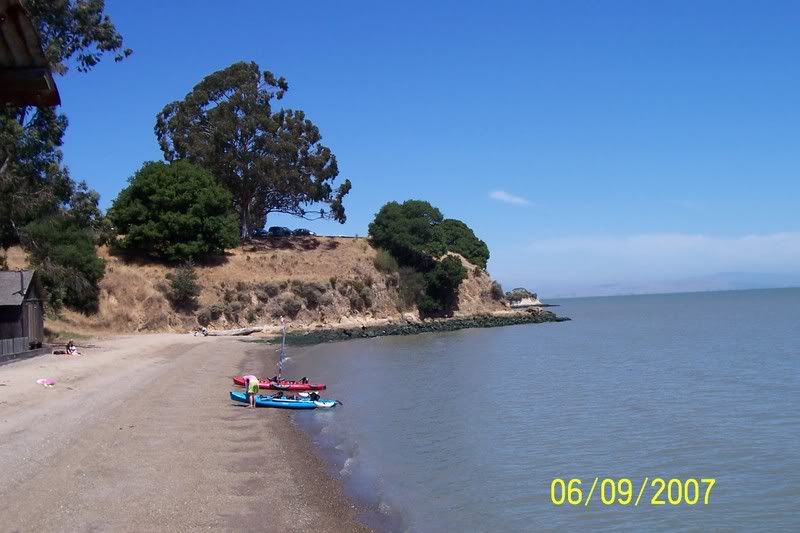
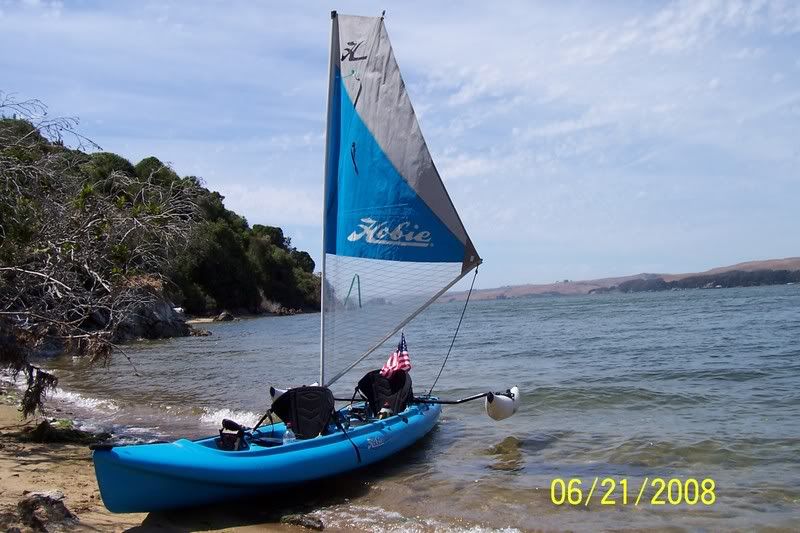
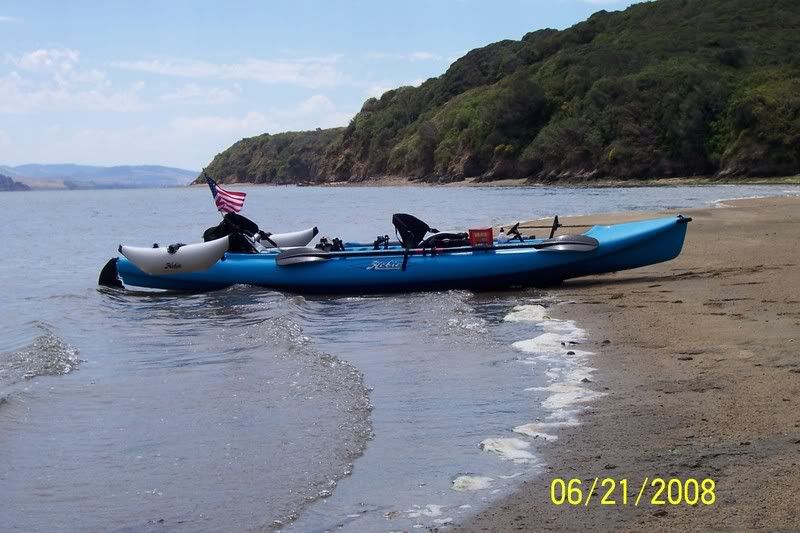
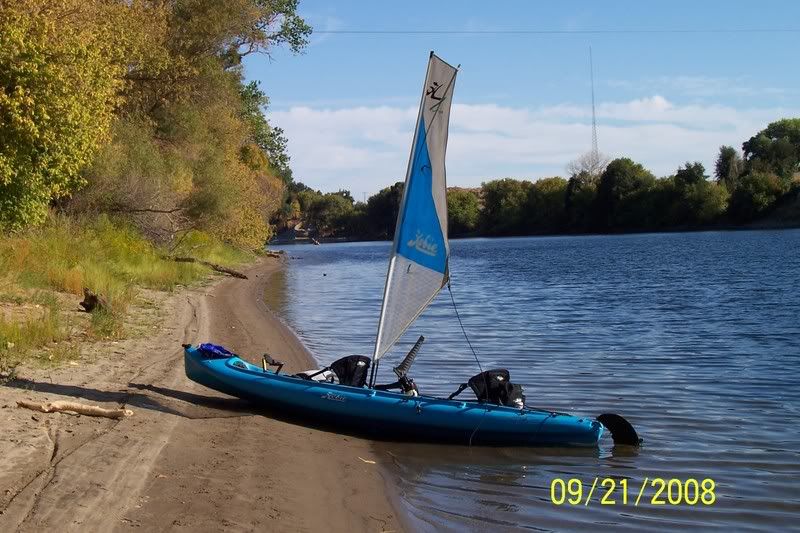
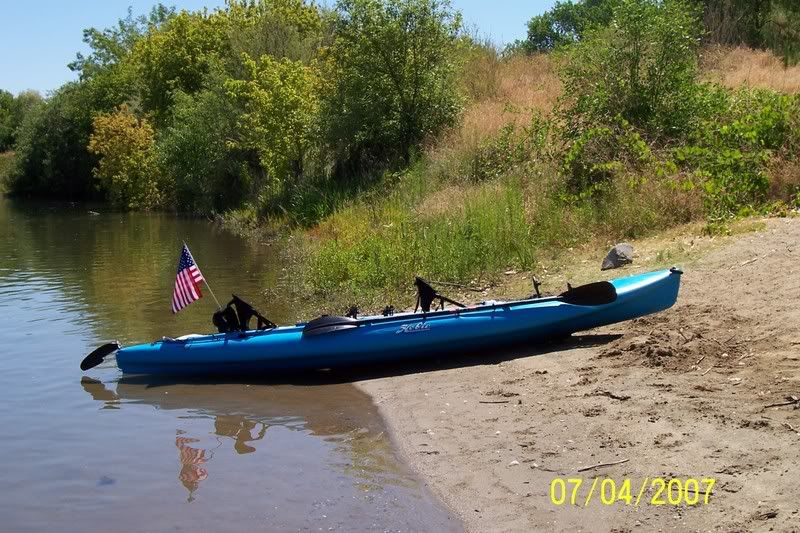
I have been meaning to tell ya those photos are great. What beautiful territory and such a fine lake or waterway. Makes my lake look like a piddle pond but still fun to sail around on. I will be sailing down on Biscayne Bay in Miami next weekend weather permitting. That is after kayak fishing first.
My first real "open" water adventure in the revolution.

_________________
I would rather be kayaking and think about work than to be at work thinking about kayaking.
A Thrill Ride is being dragged around in your kayak for 40 minutes by an extremely large fish.


Top
 Profile  
 
Display posts from previous:  Sort by  
Post new topic Reply to topic  [ 36 posts ]  Go to page Previous  1, 2, 3  Next

All times are UTC - 8 hours [ DST ]


Who is online

Users browsing this forum: No registered users and 2 guests


You cannot post new topics in this forum
You cannot reply to topics in this forum
You cannot edit your posts in this forum
You cannot delete your posts in this forum

Jump to:  
© Hobie Cat Company. All rights reserved.
Powered by phpBB® Forum Software © phpBB Group