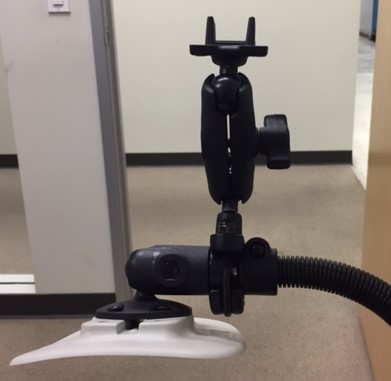
Here's one solution using RAM parts that gives you a clean install:
Parts:
- RAM fishfinder mount, part 72023053
- RAM U-Bolt 1" Ball, part 72023017
- RAM transducer arm, part 72023035
- RAM round base 1", part 72023045
- RAM Bond-A-Base, part 72023042
I like to run wires though vac tubing and back to the H-Crate where your Hobie Battery Holder and 12V battery is mounted (thru hull plug used to run cables through H-Crate wall). This allows you to unplug the whole fish finder assembly and take everything with you in the H-Crate at the end of the day. Lowrance Ready install kit 72020070 has everything you'd need (beside the vac tubing).

