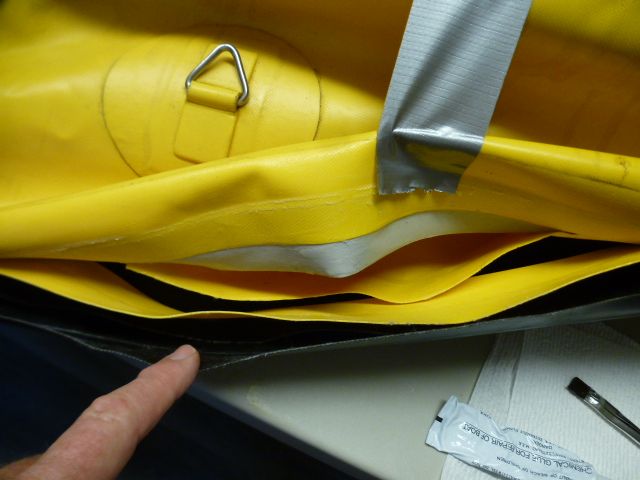
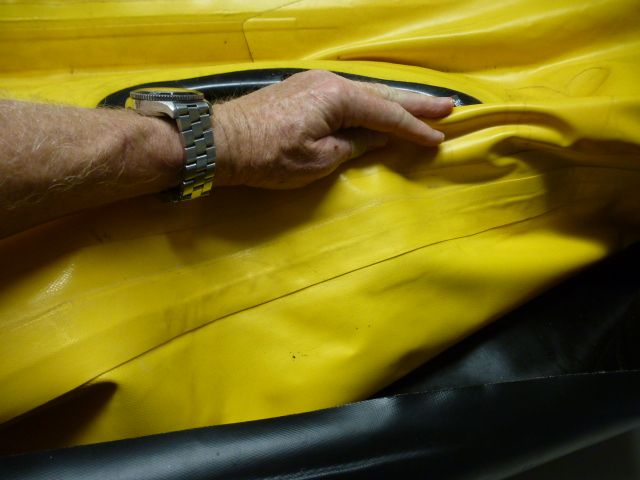
after waiting for the humidity to drop for a month (glue does not like humidity), I gave up and brought my kayak into the AC and finished the repair. After locating the internal seam failure by listening, I opened up the bumper and hull by using a heat gun to get the glue just to the point where it would release. I peeled the bumper back and the hull for about 3'. I was a good detective cause the starboard tube quickly revealed the hidden seam failure. I glued the tube and let it set for a day before I leak tested it. Once it passed the leak test, I waited a week for the glue to fully set. Then it was just a matter of gluing the hull back on and then the bumper.
What I think I learned:
1. 1 part glue is for emergency and temporary repairs (from what I've read in my research). To repair seams effectively, it is suggested to use a good 2 part glue. I used Polymarine 2 part glue for PVC that I got from Defender
2. Temperature and humidity can vary the glue curing process all over the map! When I waited the suggested 10-20 minutes before attaching seams, the glue had dried beyond tacky so I had to hit it lightly with heat again.
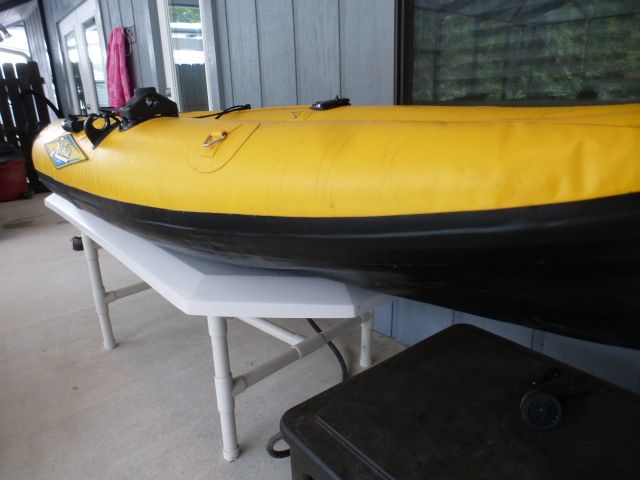
3. Florida is a very harsh environment for my kayak. If I leave my kayak inflated in the sun on my cement driveway for an hour, I can pull seams apart by hand. Think how quickly a failure can be induced if the kayak is over inflated and left in the sun on a hot beach or driveway. For that reason, my rule now is only have this kayak in the sun when I'm in it!
disclaimer: I could be and have been totally wrong!
happy boating!